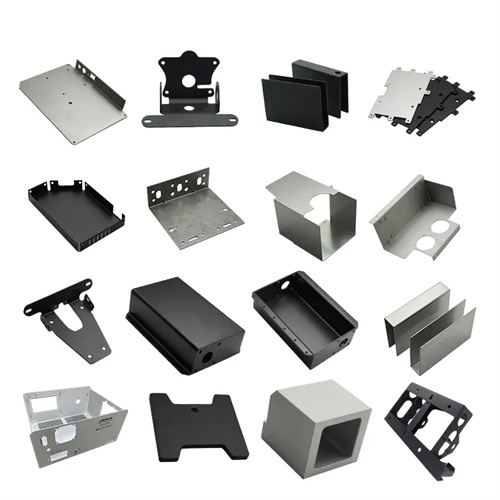
Calculation of cutting edge dimensions of punching convex and concave dies
Calculating the cutting edge dimensions of punches and dies is crucial for ensuring the dimensional accuracy of blanked parts. The core of this process is determining the cutting edge dimensions and tolerances of the punch and die based on the part’s design dimensions and tolerances, combined with the blanking clearance and die wear patterns. Because the punch and die wear due to friction during use, the cutting edge dimension calculation must account for wear to ensure that the dimensions of the blanked part remain within the allowable range throughout the die’s lifespan. This calculation distinguishes between the blanking and punching processes, as the dimensional benchmarks for each differ fundamentally.
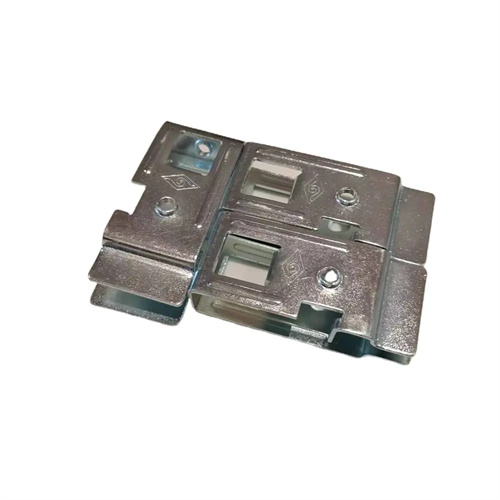
In the blanking process, the die serves as the dimensional reference, and the die edge dimensions directly determine the overall dimensions of the blanked part. When calculating, the die’s basic dimensions should be the part’s maximum limit dimension, ensuring that the actual dimensions of the blanked part do not exceed the part’s upper deviation. The punch’s basic dimensions are the die’s dimensions minus the double-sided blanking clearance, with a tolerance of 1/3-1/5 of the part’s tolerance, and this tolerance is negative. For example, if the blanked part’s overall dimensions are 50mm ± 0.1mm, the part’s maximum limit dimension is 50.1mm, and assuming a double-sided clearance of 0.2mm, the die dimensions are 50.1mm, and the punch dimensions are 50.1mm – 0.2mm = 49.9mm. The die tolerance is + 0.03mm, and the punch tolerance is – 0.02mm. This means the die is marked as 50.1 + 0.03mm, and the punch as 49.9 – 0.02mm. This design ensures that after the mold is worn, the size of the die gradually increases and the size of the punch gradually decreases, while still maintaining a reasonable gap and part size.
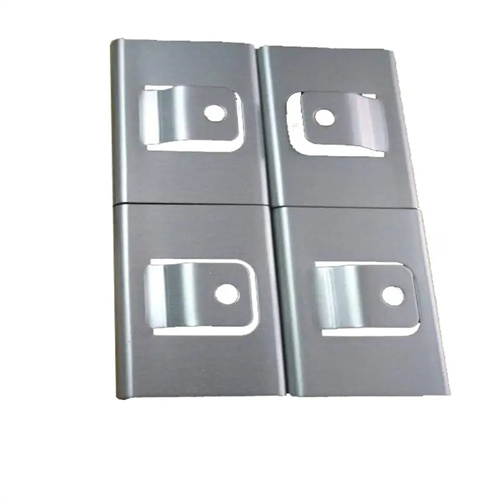
In the punching process, the punch serves as the dimensional reference, and the size of the punch edge determines the inner diameter of the punched hole. When calculating, the basic size of the punch should be the minimum limit size of the part, ensuring that the actual size of the punched hole is no less than the lower deviation of the part. The basic size of the die is the punch size plus the double-sided punching clearance, with a tolerance of 1/3-1/5 of the part tolerance, and this is a positive deviation. For example, if the punching size is 10mm±0.05mm, the minimum limit size of the part is 9.95mm, and the double-sided clearance is 0.1mm, then the punch size is 9.95mm, and the die size is 9.95mm+0.1mm=10.05mm. The punch tolerance is -0.01mm, and the die tolerance is +0.02mm. This means the punch is marked as 9.95-0.01mm, and the die is marked as 10.05+0.02mm. This design ensures that after the mold is worn, the size of the punch is slightly reduced and the size of the die is slightly increased, but the punching size can still meet the requirements of the part.
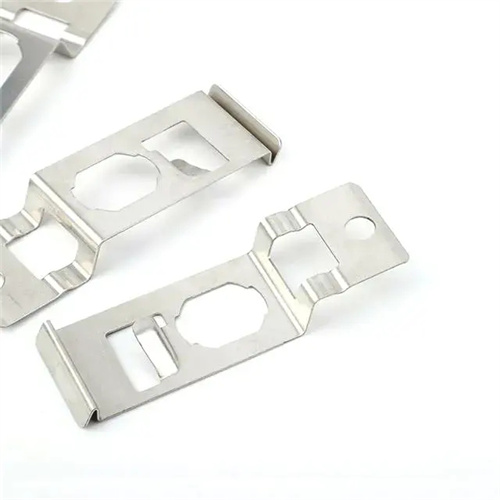
For complex punch and die shapes, calculating the cutting edge dimensions requires breaking the contour into several simple geometric elements (such as lines and arcs), calculating the dimensions of each element separately, and then combining them as a whole. Calculating the dimensions of arc sections is similar to that of circular punches and dies. For blanking, for example, the die dimensions for outer arcs are based on the maximum limit of the part, while the die dimensions for inner arcs are based on the minimum limit of the part (since inner arcs are punching holes). Calculating the dimensions of straight lines must take into account the direction of wear. Lines that align with the direction of material separation (i.e., the direction in which die edge wear increases the size) are calculated based on the blanking datum, while lines that align with the direction of material separation are calculated based on the punching datum. Tolerances for complex shapes must adhere to the “maximum material principle” to ensure that cumulative dimensional errors between components do not affect overall assembly performance.
The manufacturing accuracy of the die cutting edge must match the calculated dimensions. For high-precision punching dies (part tolerance ≤ 0.1mm), the manufacturing tolerance of the cutting edge should be controlled within 0.01-0.02mm; for general-precision punching dies (part tolerance 0.1-0.3mm), the manufacturing tolerance can be 0.02-0.05mm. When using wire cutting, program compensation can achieve high-precision dimensional control; when using grinding, precision measuring tools are required for real-time measurement. If the punched part dimensions are found to be out of tolerance during the die trial stage, adjustments can be made by grinding the cutting edge: if the blanking part is too large, grind the die cutting edge; if the size is too small, grind the punch cutting edge; if the punching size is too large, grind the punch cutting edge; if the size is too small, grind the die cutting edge. Through precise calculation and fine-tuning, the punch and die cutting edge dimensions can be ensured to meet the quality requirements of the punched part.
