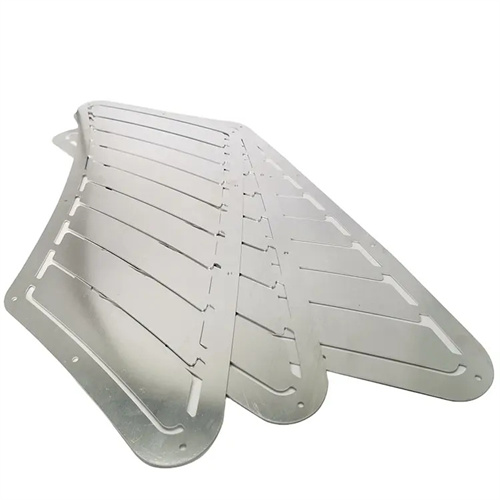
Blanking clearance
The blanking clearance refers to the gap between the punch and die cutting edges in the blanking die, usually expressed as a bilateral clearance, which is half the difference between the punch and die cutting edges. Blanking clearance is one of the most important process parameters in the blanking process. It has a significant impact on the quality of stamping parts, blanking force, die life, etc. Reasonable determination of the blanking clearance is the key to ensuring the smooth progress of the blanking process. The size of the blanking gap needs to be selected according to the type, thickness and performance of the material. For materials with good plasticity such as low carbon steel, the gap can be appropriately smaller; for brittle materials such as high carbon steel, the gap should be appropriately increased; the thicker the material, the larger the gap required.
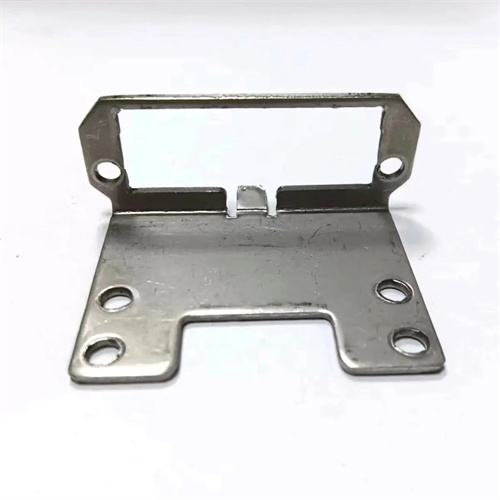
The impact of blanking clearance on stamped part quality is primarily reflected in cross-sectional quality, dimensional accuracy, and shape accuracy. When the clearance is appropriate, cracks generated at the punch and die cutting edges can be smoothly aligned, resulting in a smoother cross-section with a wider bright band, a narrow fracture zone, and minimal burrs. This ensures uniform plastic deformation during the blanking process, minimizes post-blanking springback, and improves the part’s dimensional and shape accuracy. When the clearance is too small, cracks at the punch and die cutting edges cannot be aligned, and the cracks at the die cutting edge can shift toward the punch. This causes secondary shearing during separation, resulting in secondary bright bands and interlayers in the cross-section, increased burrs, and increased compression of the die, making the part susceptible to warping. When the clearance is too large, bending and tensile deformation of the material increase, cracks at the punch cutting edge shift toward the die, widening and roughening the fracture zone, and increasing burrs. This increased springback can reduce the part’s dimensional accuracy.
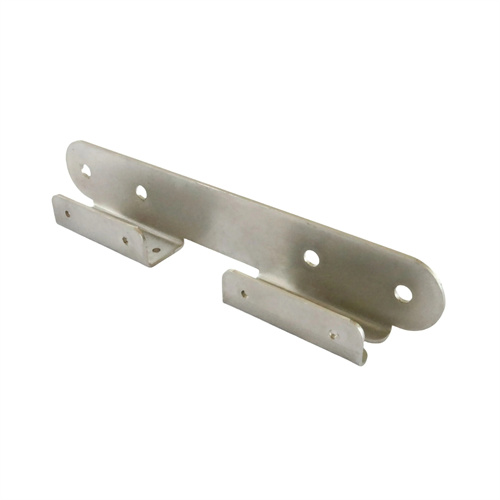
The impact of the blanking clearance on the dimensional accuracy of stamped parts also depends on the part type. For blanked parts, if the clearance is too large, the actual size of the blank will be smaller than the die size due to the tensile deformation of the material. If the clearance is too small, the actual size of the blank will be larger than the die size due to the extrusion of the material. For punched parts, if the clearance is too large, the actual size of the punched hole will be larger than the punch size; if the clearance is too small, the actual size of the punched hole will be smaller than the punch size. Therefore, when designing the mold, the blanking clearance must be reasonably determined based on the part type and precision requirements to ensure that the part’s dimensional accuracy is within the allowable range.
Blanking clearance also has a significant impact on blanking force and die life. As the clearance increases, bending and tensile deformations of the material increase, shear deformation decreases, and blanking force decreases accordingly. Typically, every 10% increase in clearance reduces blanking force by 5%-10%. However, if the clearance is too large, uneven material deformation increases the impact force on the die cutting edge, potentially shortening die life. If the clearance is too small, friction between the die and the material intensifies, causing edge wear. This increases blanking force and the load on the die, further shortening die life. A reasonable clearance allows cracks generated during material separation to meet smoothly, reducing wear and impact on the die cutting edge, thereby extending die life. Generally speaking, a reasonable clearance can increase die life by 20%-50%.
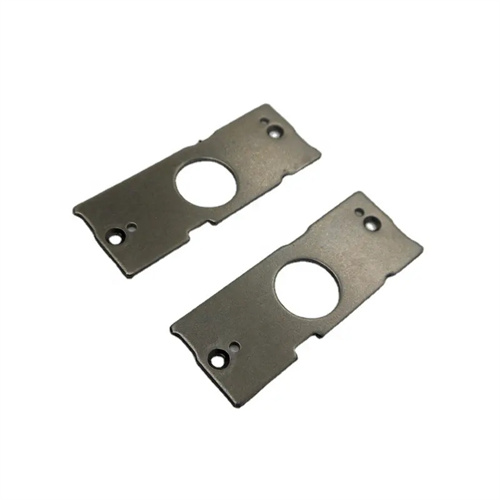
There are two main methods for determining blanking clearance: theoretical calculation and empirical data. The theoretical calculation method uses mechanical analysis based on the material’s shear strength and sheet thickness to determine a reasonable clearance value. This method is relatively accurate, but the calculation process is complex and is suitable for applications requiring high precision. The empirical data method uses empirical formulas or tables developed based on long-term production practice to determine the clearance value. This method is simple, practical, and widely used in actual production. For example, for mild steel, when sheet thickness t ≤ 1mm, the clearance value can be (5%-8%) t; when 1mm < t ≤ 3mm, the clearance value can be (8%-12%) t; and when t > 3mm, the clearance value can be (12%-15%) t. In actual application, appropriate adjustments are required based on specific circumstances. For example, a smaller clearance can be used for parts requiring high precision, while a larger clearance can be used for thick sheet or brittle materials. Die trial adjustment is also an effective method for determining the optimal clearance. Based on the quality of the part after die trial, the die clearance can be adjusted to achieve the best blanking effect.
