Assembly of the blanking die
The assembly of a blanking die involves combining qualified die parts into a complete mold according to design requirements. The precision of this assembly directly impacts the quality of the blanked parts and the lifespan of the die. This process requires strict process procedures, including cleaning, positioning, securing, adjusting, and testing parts. Each step requires high precision. During assembly, the uniformity of the gap between the punch and die, the accuracy of the positioning mechanism, and the flexibility of the unloading mechanism are crucial to ensure stable operation during the stamping process.
The preliminary preparations for the assembly of blanking dies are crucial, including the inspection, cleaning, and matching of parts. First, the dimensional accuracy, form and position tolerances, and surface roughness of all parts must be checked against the design drawings, especially the key parameters such as the cutting edge size and verticality of the punch and die, and the fitting clearance of the guide device. Unqualified parts must be repaired or replaced. Parts cleaning requires the removal of residual oil, iron filings, and oxide scale from processing. Usually, kerosene or detergent is used to soak the parts and then clean them with a brush. Precision parts also require ultrasonic cleaning to ensure the cleanliness of the assembly surface. For parts that need to be matched (such as guide pins and guide sleeves, punches and fixed plates), matching and grouping are required to ensure that the matching accuracy meets the design requirements.
The assembly of the punch and die is a core step in blanking die assembly, and the key lies in ensuring uniformity of the cutting edge clearance. For simple blanking dies, the punch is typically secured to the punch mounting plate, and the die to the die mounting plate or lower die holder using a press-fit method. The clearance is then adjusted using a shim adjustment method: a shim of uniform thickness (such as a copper sheet or paper) is inserted between the punch and die, the mounting plate is tapped to even out the clearance, and the fixing bolts are tightened. For blanking dies with complex shapes, a process locator or marking alignment method can be used. A jig boring machine or projector can be used to determine the relative position of the punch and die to ensure consistent clearances at all locations. After the clearance adjustment is complete, the clearance at each point should be checked with a feeler gauge or dial indicator. The error should be within a range of 0.01-0.03mm.
The assembly quality of the positioning device and the unloading device directly affects the dimensional consistency and production continuity of the blanked parts. The assembly of the positioning device (such as the stop pin, guide plate, and positioning plate) must ensure the relative position accuracy of the positioning reference and the mold cutting edge. The height of the stop pin should be slightly higher than the thickness of the sheet (generally 0.8 times the sheet thickness), and the spacing of the guide plates should be 0.1-0.3mm larger than the sheet width to ensure smooth feeding of the sheet. The assembly of the unloading device must ensure that the unloading force is uniform and the movement is flexible. The springs or rubber of the elastic unloading device must be evenly arranged. The clearance between the unloading plate and the punch should be less than 1/3 of the sheet thickness to prevent deformation of the workpiece during unloading. The rigid unloading plate must be kept parallel to the upper plane of the die, and the unloading clearance must be controlled at 0.05-0.1mm to ensure thorough unloading.
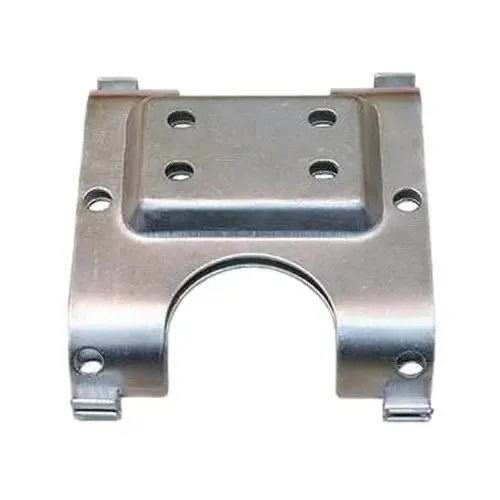
After the punching die is assembled, it is necessary to conduct a trial mold and adjustments to verify the working performance of the die. When testing the die, the same sheet metal and stamping equipment as those used in production should be selected. First, a single-stroke trial punching should be performed to check the cross-sectional quality, dimensional accuracy, and the presence of burrs on the punched parts. Then, a continuous stroke trial punching should be performed to observe whether the unloading and feeding are smooth, and whether the die has any abnormal sounds or vibrations. If problems such as excessive burrs or dimensional deviations are found on the punched parts, the clearance needs to be rechecked and adjusted. If unloading is not smooth, the spring force of the unloading device or the clearance of the unloading plate needs to be checked. After the trial mold is qualified, a certain batch of production verification is required to record the working status of the die and the quality fluctuations of the punched parts to provide data support for subsequent die maintenance. Through strict assembly process and trial mold adjustment, it can be ensured that the punching die reaches the designed service life and production efficiency.
