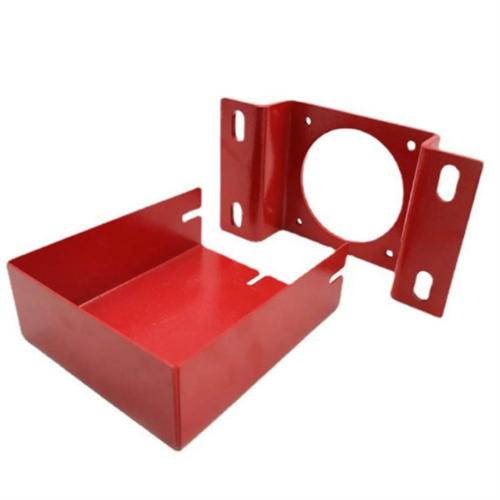
Calculation of dimensions in thinning and drawing process
The calculation of the dimensions of the thinning and drawing process is a core link in ensuring part quality and production continuity. It requires a comprehensive consideration of material properties, degree of deformation, and the cumulative effect of multiple processing passes. First of all, the wall thickness reduction in a single thinning and drawing process is the basic parameter for calculation, usually expressed as a thinning rate, that is, (original wall thickness – wall thickness after deformation) / original wall thickness × 100%. For materials with good plasticity such as aluminum and copper, the single thinning rate can be controlled at 30%-50%, while materials with poor plasticity such as high-strength steel need to be reduced to 20%-30%. If the thinning rate is too high, it can easily lead to excessive hardening or even cracking of the material. After determining the thinning rate, the wall thickness size after the process can be calculated by multiplying the original wall thickness by the thinning rate, providing a basis for setting parameters for subsequent processes.
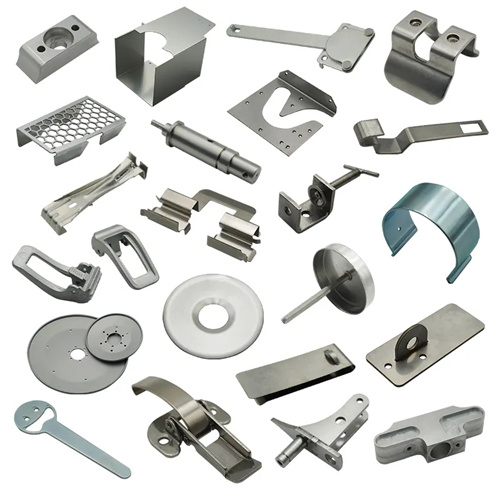
In addition to wall thickness, calculating part height is equally critical. During the thinning and drawing process, the material volume remains essentially unchanged, so the height dimension can be derived based on the principle of volume conservation. Assuming the blank is a hollow cylinder, the original volume is the product of the base area and the height, and the volume after deformation is the product of the new wall thickness, average diameter, and height. The height after deformation can be calculated by converting the equation. However, it should be noted that in actual production, the material may experience slight volume changes, especially after multiple deep drawing cycles. This requires adjustment using a correction factor, generally 0.98-0.99, to compensate for the tiny pores or density changes produced by the material during plastic deformation.
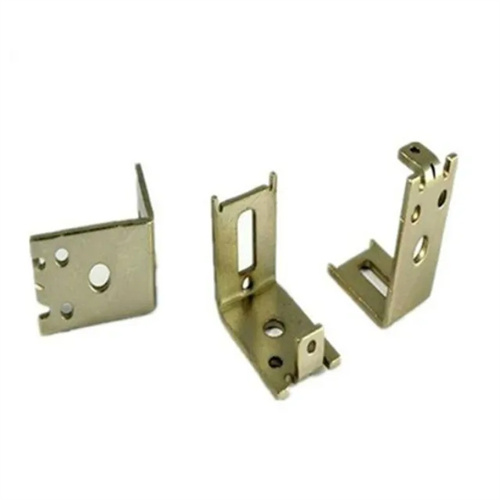
Dimensional calculations for multi-pass ironing require a gradual approach, with appropriate distribution of deformation between passes. Typically, the reduction rate in the first pass can be appropriately increased to fully utilize the material’s initial plasticity, while the reduction rate in subsequent passes is gradually reduced to prevent material failure due to cumulative hardening. For example, for a part with a total ironing rate of 70%, a step-by-step reduction of 40%, 20%, and 15% can be employed. Furthermore, the height of each pass must be cumulative, and the dimensional impact of the annealing process must be considered. The material may experience slight dimensional shrinkage after annealing, so a 0.5%-1% margin should be allowed in the calculations.
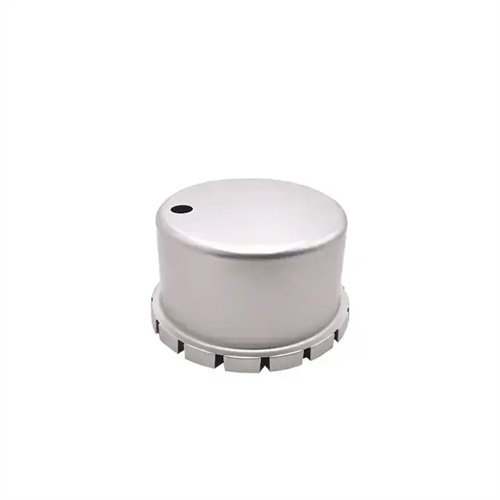
The calculation of the die working zone dimensions directly impacts wall thickness accuracy. The working zone length is typically 0.5-1.5 times the material thickness. A working zone that is too short will result in uneven wall thickness, while a longer zone will increase friction and energy consumption. The die taper angle should be calculated based on the material’s flow characteristics. For easily flowing materials like aluminum, a taper angle of 15°-20° is recommended. For less fluid materials like steel, the taper angle should be reduced to 8°-12° to reduce resistance as the material passes through the die. Furthermore, the gap between the punch and die must be strictly controlled. Its value should be slightly less than the target wall thickness, generally 0.95-0.98 times the target wall thickness, to ensure sufficient extrusion for uniform thinning.
Calculation of process dimensions also needs to consider the effects of springback and die wear. After unloading, thinned and deep-drawn parts will experience slight dimensional changes due to elastic recovery, especially in the wall thickness direction. Therefore, a springback allowance of 0.01-0.03mm should be accounted for in the calculation. Molds wear out over time, causing the die to become larger. Therefore, when designing initial dimensions, the die working zone can be reduced by 0.02-0.05mm to compensate for dimensional deviations caused by subsequent wear. By combining the above calculation methods and correcting them based on trial mold data, accurate dimensions can be ensured throughout each process, ultimately resulting in parts that meet design requirements.
