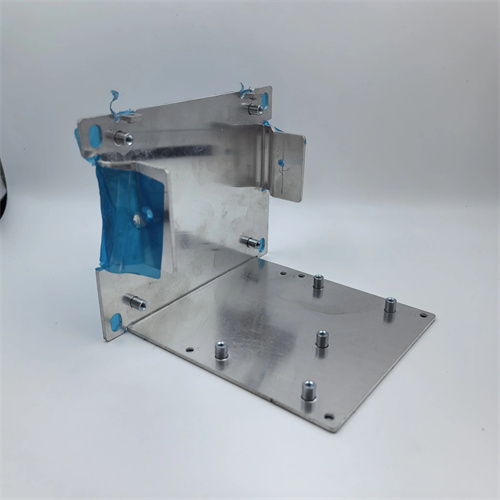
Thinning drawing convex and concave die structure
The structural design of the thinning drawing punch needs to focus on strength, guiding accuracy and surface quality. The working part of the punch usually adopts a stepped structure. The front section is the working section with a diameter slightly smaller than the inner diameter of the part, and the rear section is the transition section with a gradually increasing diameter to enhance the overall rigidity of the punch. The length of the working section is generally 1.2-1.5 times the height of the part to ensure stable support of the material during the drawing process to avoid bending or deviation. The head of the punch needs to be rounded with a radius of (0.5-1) times the material thickness to reduce the cutting effect on the material and prevent cracks. For the deep drawing of large parts, cooling channels can be designed inside the punch to reduce the working temperature by circulating coolant to prevent the material from softening due to high temperature.
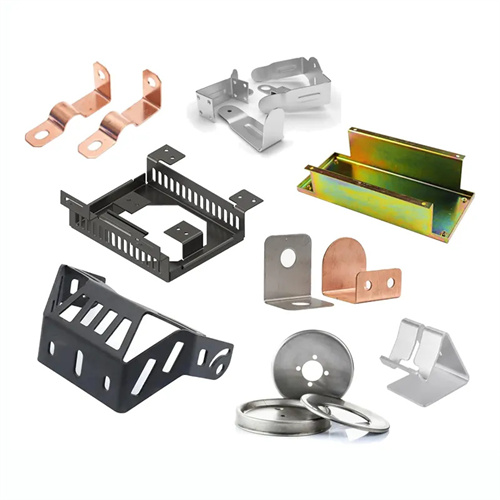
The structure of the die is the core of the ironing and drawing die design, and its working part consists of three parts: the inlet cone, the working belt and the outlet cone. The angle of the inlet cone directly affects the inflow resistance of the material. A too small angle will increase friction resistance, while a too large angle will cause the material to flow too quickly and produce wrinkles. It is usually selected from 8° to 20° based on the material properties. A larger angle is used for aluminum parts, and a smaller angle is used for steel parts. The working zone is the key area of the die. Its length and surface roughness have a significant impact on the wall thickness accuracy. The working zone length is generally (0.8-1.2) times the material thickness, and the surface roughness needs to reach Ra0.1-0.2μm to reduce friction and ensure uniform deformation of the material. The angle of the exit cone is usually larger than that of the entry cone, generally 20°-30°, which facilitates the smooth separation of the part from the die and avoids scratches or deformation.
The clearance between the punch and die is a crucial parameter for ensuring part quality, and its value must be precisely set based on the target wall thickness. For the initial thinning and drawing process, the clearance can be slightly larger than the target wall thickness by 0.01-0.03mm, allowing for adjustment in subsequent steps. The clearance for the final step must be strictly equal to the target wall thickness to ensure part dimensional accuracy. To achieve precise guidance, the punch and die typically utilize a guide pin and sleeve structure. The guide pin has a diameter of 0.5-0.8 times the punch diameter, and its length must cover the maximum stroke of the punch to ensure that the punch and die remain concentric during the drawing process, avoiding uneven wall thickness due to eccentricity. Furthermore, a locating ring can be designed on the outside of the die to ensure the die’s installation accuracy on the die base. The clearance between the locating ring and the die is controlled within a range of 0.01-0.02mm.
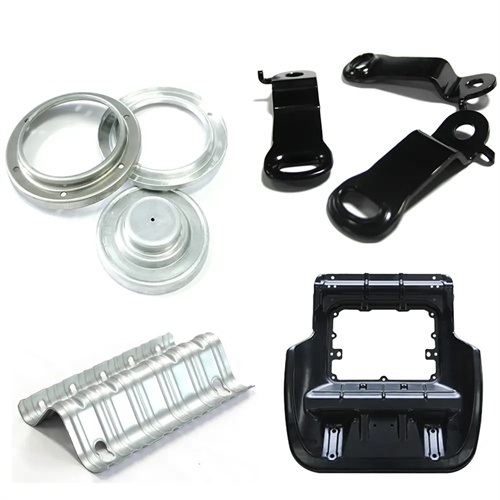
To accommodate different materials and part shapes, the male and female dies can adopt a modular structure for improved cost-effectiveness and flexibility. The female die can be divided into upper and lower sections, connected by bolts. When the working belt wears, only the lower section needs to be replaced, reducing mold maintenance costs. For parts with complex shapes, the male die can adopt a removable head, which can be replaced with different head structures according to the part’s internal shape, achieving multi-purpose use with one machine. The modular structure also facilitates localized heat treatment of the mold. The working section is made of high-strength alloy tool steel such as Cr12MoV, which reaches a hardness of HRC58-62 after quenching, while the non-working section is made of ordinary carbon steel, reducing overall costs.
The surface treatment process of male and female dies is crucial to the life of the die and the quality of the parts. The working surface is usually chrome-plated with a coating thickness of 0.01-0.03mm. The chrome-plated layer has high hardness and wear resistance, which can increase the mold life by 2-3 times. For occasions with extremely high requirements, nitriding treatment can be used to form a nitride layer with higher hardness on the surface while maintaining good toughness inside. In addition, the working surface needs to be polished to eliminate processing marks and avoid scratching the material during the drawing process. Anti-rust paint can be applied to the non-working area of the mold to prevent rust during long-term storage and ensure the performance of the mold. By rationally designing the structure of the male and female dies and optimizing the parameters of each part, the efficiency of thinning and drawing and the quality of parts can be significantly improved.
