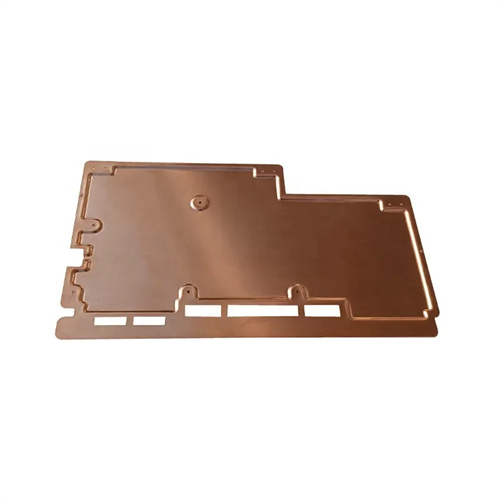
Mechanical bulging die design
Mechanical bulging die design utilizes mechanical force to radially expand cylindrical or tubular parts. Widely used in applications such as automotive exhaust pipes, pressure vessels, and hydraulic fittings, it enables precise forming of complex cross-sectional shapes. The dimensional accuracy of the bulged parts can reach IT8, with a surface roughness of Ra1.6μm or less. Compared to hydraulic bulging, mechanical bulging offers the advantages of high forming force and fast response, making it particularly suitable for bulging high-strength materials such as Q345 and 42CrMo. Initially, the number of bulging cycles should be determined based on the part’s bulging coefficient (the ratio of the maximum diameter after bulging to the original diameter). For parts with a bulging coefficient greater than 1.2, two to three bulging cycles are required, with each bulging coefficient controlled within 1.1 to prevent material fracture. For example, if a Q345 steel pipe with an original diameter of 100mm needs to be bulged to 120mm (bulging coefficient of 1.2), this process requires two steps: the first bulging cycle to 110mm and the second to 120mm.
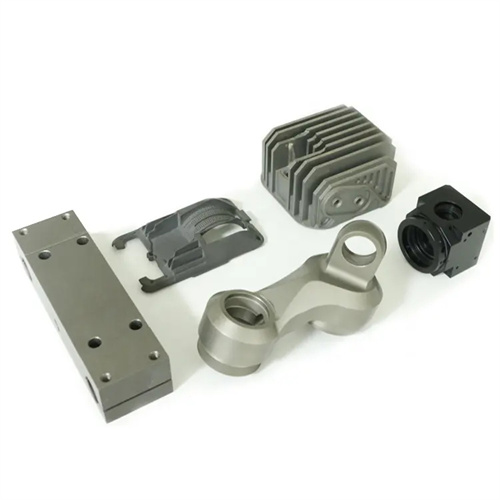
The mold structure consists of a bulging punch (split type), an outer mold, a guide mechanism, and a drive unit. The split punch typically consists of 3-6 lobes, made from Cr12MoV alloy tool steel with a quenched hardness of HRC58-62. The working surface is polished to Ra0.4μm or less, and the gap between the lobes is controlled to 0.05-0.1mm to prevent material embedding during bulging. The outer mold is tempered from 45 steel (hardness HRC28-32), and the inner surface is machined to the final shape of the part with a tolerance of ±0.05mm. The clearance with the split punch is 0.1-0.2mm to ensure smooth demolding of the part after bulging. The drive unit uses a wedge or conical mechanism, which drives the radial expansion of the split punch through the downward movement of the press slide. The wedge is tilted at an angle of 15°-20°, balancing driving force and stroke efficiency.
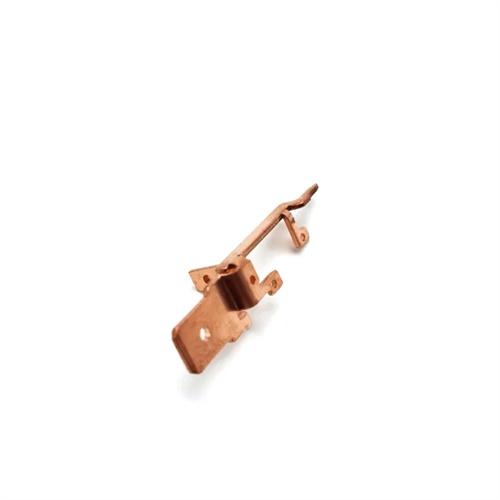
Bulging force and stroke control are the core of mechanical bulging dies. The total bulging force is calculated using the formula F = π × D × t × σs × K (D is the diameter after bulging, t is the wall thickness, σs is the material yield strength, and K is a safety factor of 1.5-2.0). For example, for a Q345 steel pipe with a diameter of 120mm and a wall thickness of 5mm (σs = 345MPa), the bulging force is approximately 350-450kN, requiring a press with a capacity of 500kN or more. The bulging stroke of the split punch must be precisely controlled by limit blocks, with a stroke error of less than 0.1mm to ensure stable bulging dimensions. For parts with variable cross-sections, the split punch should be designed in a stepped manner, with the expansion amount distributed according to the part shape gradient. The expansion difference between adjacent parts should be ≤5% to avoid localized excessive stretching of the material.
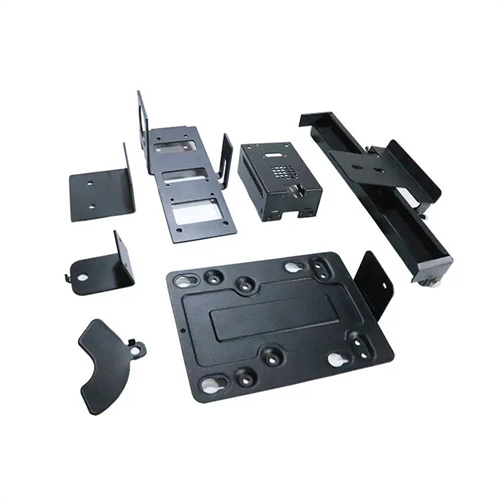
The guiding and synchronization mechanism ensures the coordinated movement of the petals. A guide key is installed between the petal punch and the outer die to limit circumferential rotation. The guide key is made of bronze ZCuSn10Pb1, which has excellent self-lubricating properties and a fit clearance of 0.03-0.05mm. The petals are connected by synchronous gears or connecting rods to ensure consistent radial expansion speed (speed difference <0.05mm/s) and prevent part wall thickness deviation due to uneven force. For large bulging dies (diameter >300mm), an intermediate guide sleeve is required, which is placed in the middle of the petal punch assembly to further improve synchronization accuracy.
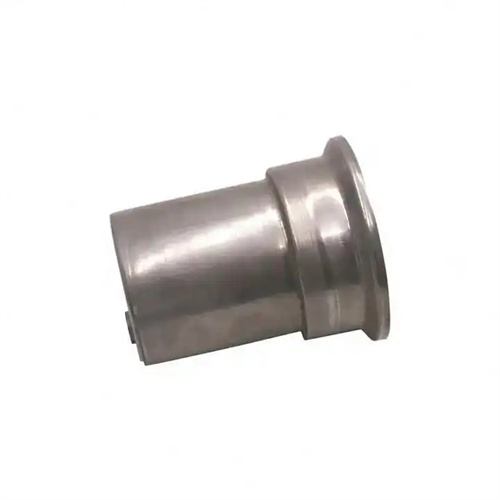
During debugging and maintenance, attention should be paid to the force distribution. During mold testing, a pressure sensor is used to collect the bulging force of each petal. The force deviation must be controlled within 5%. Otherwise, the wedge contact area needs to be adjusted or the synchronization mechanism parts need to be replaced. The wall thickness of the part after bulging is tested with an ultrasonic thickness gauge. The maximum thinning rate must be less than 15%. If the local thinning exceeds the standard, the expansion amount of that part needs to be reduced or the pre-bulging process needs to be added. During daily maintenance, the mating surface of the petal punch should be coated with high-temperature grease (temperature resistant above 200°C) every 1,000 operations to prevent metal adhesion. The tooth side clearance of the synchronous gear should be checked once a month (needed to be less than 0.02mm) and replaced in a timely manner if the wear exceeds the standard. When the mold is stored for a long time, the petal punch needs to be combined into a whole to avoid deformation of the individual petals.
