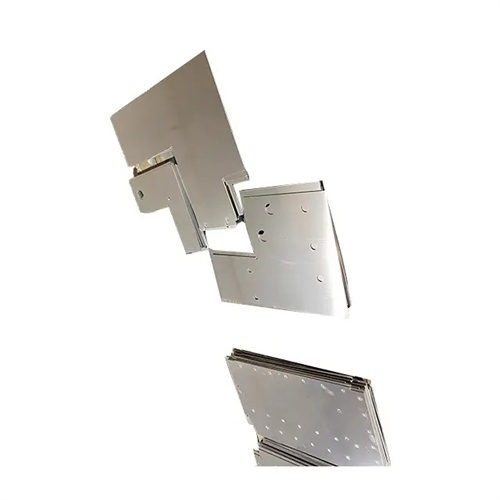
Design of the Die for Punching Notches on Angle Steel
Angle steel notching die design is a specialized die technology for notching angle steel (such as L50×5, L63×6, and other models). Widely used in fields such as steel structure construction and shelf manufacturing, it achieves notch dimensional accuracy of ±0.5mm and a notch verticality error of less than 0.3mm/m. As a material with a special cross-section, angle steel poses design challenges in positioning and controlling deformation during notching. The die must accommodate the angle steel’s two perpendicular limbs to ensure accurate notch placement and no noticeable deformation. Initially, the die opening dimensions must be determined based on the angle steel model. For example, for an L50×5 angle steel, the die’s horizontal and vertical accommodation spaces must be 50mm and 5mm, respectively, leaving a 0.5-1mm gap for smooth angle placement.
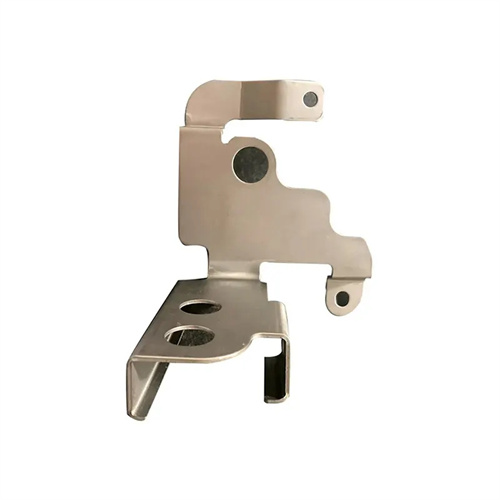
The die structure consists of a punch, die, positioning device, clamping mechanism, and guide mechanism. The punch is designed based on the notch shape (usually rectangular or trapezoidal) and is made of Cr12 steel with a hardness of HRC 55-58 after quenching, and a cutting edge sharpness of Ra 0.8μm or less. For angle steel with a thickness of 5mm, the punch edge angle is set at 90° to ensure a smooth cut. The die adopts a split structure, consisting of two horizontal and vertical modules, bolted to the lower die base. The modules are made of Cr12MoV with a hardness of HRC 58-62 after quenching. The die gap is 8%-12% of the angle steel thickness. For 5mm thick angle steel, the gap is set at 0.4-0.6mm to reduce burrs.
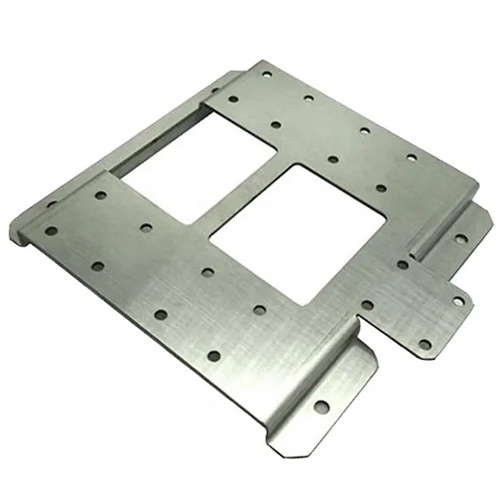
The positioning device must achieve three-dimensional positioning of the angle steel. Horizontally, a retaining plate is used to limit the longitudinal position. The distance between the retaining plate and the die cutting edge is equal to the dimension from the notch center to the angle steel end, with an accuracy of ±0.2mm. Vertically, a V-shaped positioning block is installed, fitting at a right angle to the outer corner of the angle steel. The positioning block is made of quenched and tempered 45 steel (HRC 28-32) and chrome-plated for wear resistance. Laterally, adjustable jacking bolts are used for lateral positioning. A spring-loaded preload of 5-10N ensures that the angle steel is tightly against the V-block and eliminates lateral play. For unequal-legged angle steel, the positioning block must be designed according to the angle steel’s proportions to ensure balanced force distribution.
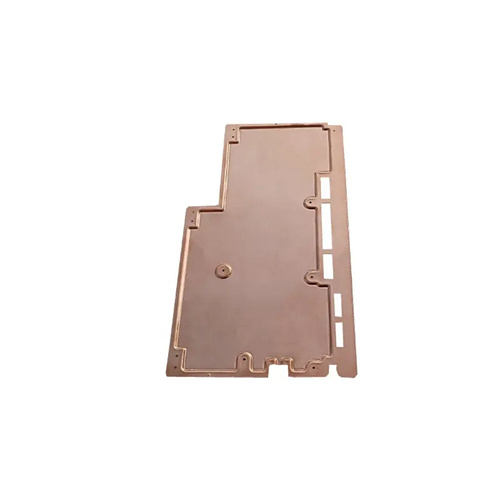
The clamping mechanism is key to preventing angle steel deformation. It utilizes a pneumatic clamping system. A cylinder is mounted on the upper die, and the lower end of the piston rod is connected to a clamping block. The bottom of the clamping block contacts the angle steel surface. The clamping force is adjusted according to the thickness of the angle steel. For a 5mm thick angle steel, the clamping force is 3-5kN to ensure that the angle steel does not warp during punching. The clamping block is made of HT300 cast iron, and a rubber pad (2-3mm thick) is attached to the bottom to increase friction and prevent damage to the angle steel surface. The clamping mechanism’s operation must be synchronized with the punching process, completing the clamping before the punch contacts the angle steel. Release is delayed 0.1-0.2 seconds after punching to ensure safe operation.
Debugging and maintenance need to adapt to changes in angle steel specifications. When testing the mold, use scrap angle steel that is consistent with the production specifications for testing, measure the notch size and position, and adjust the position of the baffle plate or positioning block when the deviation exceeds 0.5mm. Check the wear of the punch edge every 2,000 operations. If burrs appear, use an oilstone to grind them to keep the edge sharp. The guide device uses sliding guide pins and guide sleeves, and lubricating oil is added once a week to ensure the synchronization of the upper and lower mold movements. For angle steels of multiple specifications, the mold positioning device needs to be designed to be adjustable. By replacing the positioning block and adjusting the position of the baffle plate, compatibility with multiple models such as L40×4 to L75×8 can be achieved, thereby improving the versatility of the mold.
