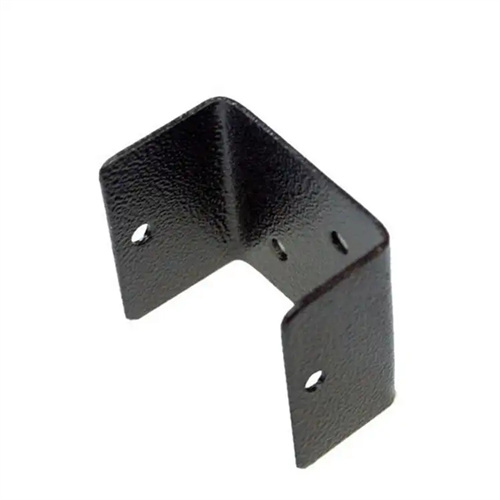
Smooth die design
The smooth die design is an advanced die technology developed for high-precision blanking parts. It can achieve a bright band width of more than 90% of the material thickness and a roughness as low as Ra0.8μm on the blanking section. It is widely used in precision instruments, aerospace and other fields, especially for the blanking of high-strength steel plates, titanium alloys and other materials with a thickness of 0.1-3mm. Compared with ordinary dies, its core difference lies in the use of extremely small blanking gaps (3%-5% of the material thickness) and special edge structures to achieve a smooth section by suppressing the generation of shear bands. In the early stage of design, the die structure needs to be selected according to the complexity of the part shape. For round parts, compound dies can be used, and special-shaped parts are suitable for progressive dies. At the same time, the blanking force needs to be calculated. Due to the small gap, the blanking force is 15%-20% higher than that of ordinary dies, and a higher tonnage press is required.
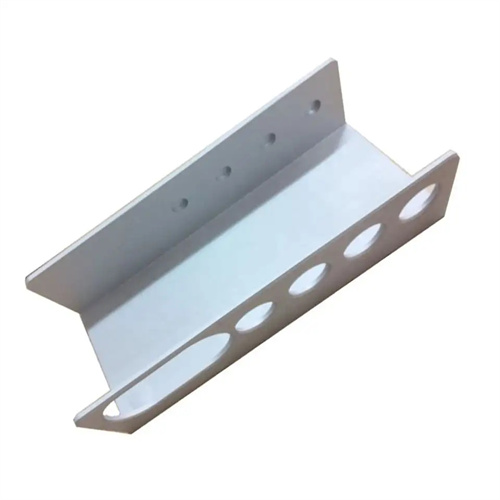
The mold structure consists of a high-precision punch, die, guide mechanism and precision unloading device. The punch and die are made of powder metallurgy high-speed steel (ASP-60), and the hardness reaches HRC64-66 after deep cryogenic treatment (-196℃), ensuring the ultra-high wear resistance of the cutting edge. The die adopts an integral structure and is formed by slow wire cutting (accuracy ±0.001mm). The straight wall height of the cutting edge is 5-8mm to avoid excessive extrusion of the material during punching. The matching clearance between the punch and the die is guaranteed by precision grinding. For materials with a thickness of 1mm, the clearance is controlled at 0.03-0.05mm, and the clearance difference of the entire circumference is less than 0.005mm to ensure uniform distribution of the punching force.
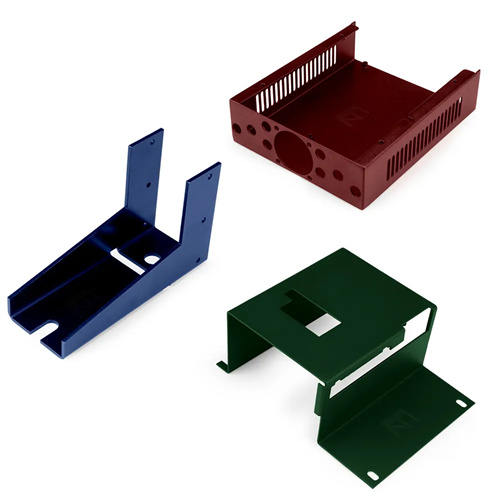
Cutting edge and surface treatment technology are the core of smooth punching die. The die cutting edge adopts a negative clearance design, with a negative angle of 0.5° – 1° set within the range of 0.1 – 0.2mm at the front end of the cutting edge to enhance the extrusion effect of the material and promote the formation of a bright band. The working surfaces of the punch and die are ultra-finely polished to a roughness of Ra0.025μm, which reduces material flow resistance and reduces blanking force fluctuations. For sticky materials such as stainless steel, the die edge can be treated with titanium nitride (TiN) coating with a coating thickness of 0.5 – 1μm and a hardness of HV2000 or above, which significantly improves
Abrasion and adhesion resistance.
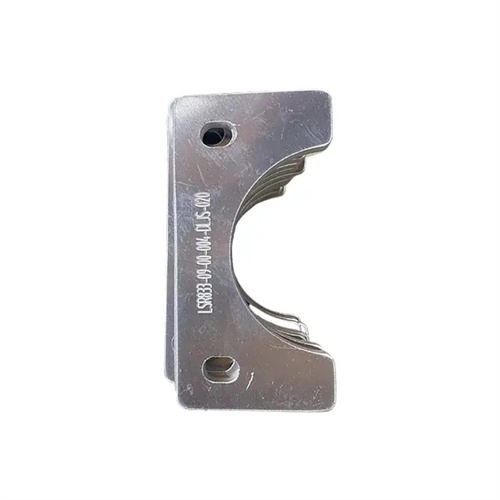
The guidance and positioning accuracy are strictly controlled. Ball guide pins and guide sleeves (accuracy level Class 0) are used, with a clearance of 0.001 – 0.003mm, a guide pin diameter of 20 – 30mm, and a length that ensures that 2/3 of the guide pin length is still in the guide sleeve when the mold is in the maximum open state. The positioning device uses a combination of precision locating pins and locating plates. The locating pin diameter tolerance is IT5, and the clearance with the prefabricated hole of the part is 0.005 – 0.01mm. The flatness error of the locating plate is <0.005mm/m, ensuring the blank positioning accuracy of ±0.01mm. For strip feeding, a servo feeder is used with a step accuracy of ±0.005mm, and secondary positioning with the guide pin is used to further eliminate feeding errors.
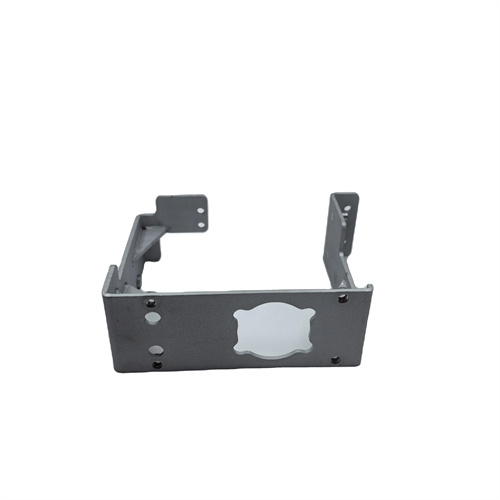
Debugging and maintenance require ultra-precision management. When testing the mold, observe the cross-sectional morphology under a 100x microscope. When the width of the bright band is insufficient, the blanking gap needs to be reduced (adjust 0.002mm each time), and the cutting edge needs to be ground if tiny burrs appear. The punch and die are precision tested every 5,000 times, and the cutting edge size is measured using a three-coordinate measuring machine (accuracy ±0.001mm). Replace when the wear is greater than 0.005mm. The guide system is filled with special grease (viscosity grade ISO VG10) every 1,000 times to ensure smooth movement. The mold must be stored in a constant temperature and humidity environment (temperature 20±2℃, humidity 50%±5%) to avoid dimensional deviations caused by temperature changes.
