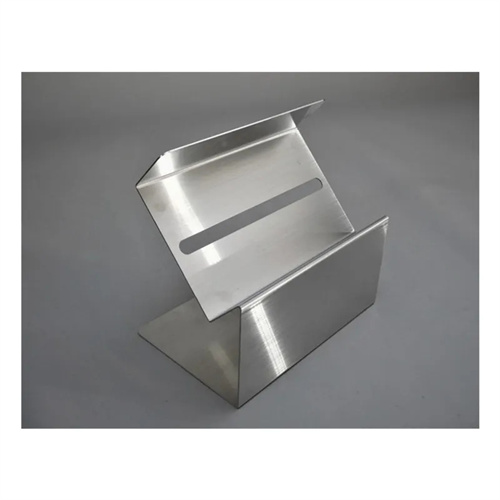
Design of Multi-Station Blanking Progressive Die
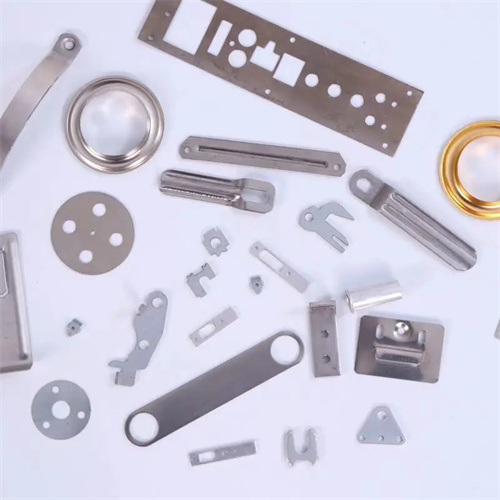
The multi-station punching progressive die design is a typical representative of efficient stamping technology. It is suitable for continuous punching of strips or strips, such as small parts such as electronic connectors, motor stators and rotors. By setting up multiple stations in a die, punching, blanking, trimming and other processes are completed in sequence, realizing integrated production from blanks to finished products. Compared with single-station dies, its production efficiency can be increased by 5-10 times, and the part size consistency is good, which is suitable for mass production. In the early stage of design, the number and arrangement of stations need to be determined according to the unfolded size of the part, material thickness (0.1-3mm) and output. The station spacing is usually 1.2-1.5 times the maximum width of the part to ensure that there is no interference between processes. For example, a part that includes punching, grooving and blanking can be set up with three stations. The first station is punching, the second station is grooving, and the third station is blanking. The station spacing is 20mm, which is suitable for continuous feeding of strips.
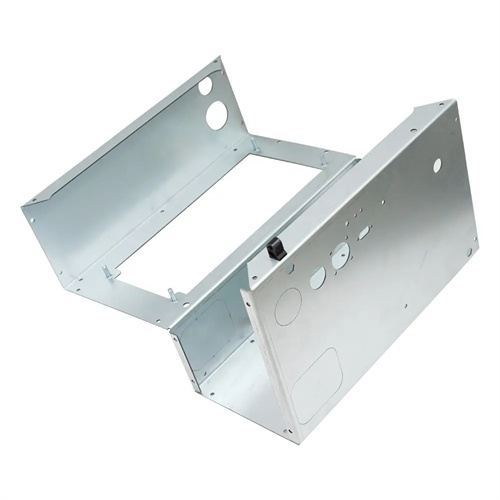
The mold structure consists of upper and lower die bases, a punch set, a die set, a feeding mechanism, a positioning device and a discharge device. The punch is made of high-speed steel W18Cr4V, with a hardness of HRC62-65 after quenching and a blade roughness of Ra0.4μm or less. According to the blanking requirements of different stations, the punch shape is designed to be round, special-shaped, etc., and precisely matched with the die set. The die is made of Cr12MoV steel, with a quenching hardness of HRC58-62. The die holes of each station are processed and formed by wire cutting at one time, with a position accuracy of ±0.01mm, ensuring uniform clearance with the punch (5%-10% of the material thickness). The feeding mechanism adopts a roller feeding driven by a servo motor, with a feeding accuracy of ±0.02mm, and with the side blade spacing, it ensures that the strip material is fed accurately each time. The side blade width is 0.05mm larger than the station spacing to avoid cumulative feeding errors.
The positioning and guiding system is the core of this multi-station progressive die. It utilizes precision ball bearing guides and bushings with diameters ranging from 20 to 30 mm and a clearance of 0.005 to 0.01 mm to ensure synchronized movement between the upper and lower dies. In addition to side cutting edges, strip positioning also features guide pins that mate with locating holes in the preceding station. One guide pin is provided every two to three stations to correct for feed deviation. The clearance between the guide pins and locating holes is 0.01 to 0.02 mm. For thin materials (thickness < 0.5 mm), a support device is added. Air cushions control the support height, maintaining a 0.1 to 0.2 mm clearance from the strip surface to prevent sagging and deformation. The upper and lower die blocks are constructed of HT300 cast iron with a thickness of 80 to 120 mm and are rigidly connected by pins and bolts to ensure overall rigidity.
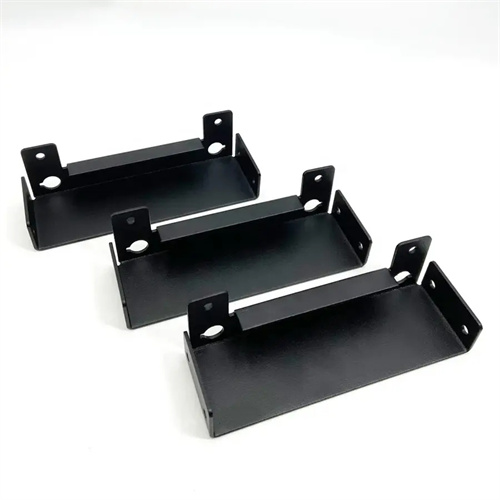
The unloading and waste handling design must adapt to the demands of continuous production. Each workstation is equipped with an elastic unloading plate, using a polyurethane rubber or nitrogen spring to provide unloading force. The unloading force is 10%-15% of the punching force, ensuring smooth separation of the strip from the punch after punching. A discharge hole is provided at the bottom of the die, with a diameter 2-3mm larger than the maximum size of the waste material and an inclination angle of 5°-10°, to facilitate the flow of waste into a collection bin. For long, narrow waste, a waste cutter is installed to cut the continuous waste at the last workstation to prevent it from wrapping around the die. An air blower is installed on the side of the die. After each punching station, an air jet is ejected for 0.5 seconds to remove scrap from the cutting edge, preventing waste accumulation and increased wear on the cutting edge.
Commissioning and maintenance require meticulous attention to detail. During die trials, use slow feed (5-10 times/min) to check the coordination of each workstation. Measure the dimensions of the punched part using a projector to ensure tolerances within IT10. Check the punch edge for wear every 10,000 cycles. Replace the punch if wear exceeds 0.03mm. Regrind the die edge every 50,000 cycles to maintain sharpness. The feed mechanism is calibrated weekly to ensure feeding accuracy, and the guide pins and bushings are greased monthly to prevent dry wear. For high-speed punching (>300 times/min), the die should be equipped with a vibration monitor to monitor the amplitude in real time. Automatically shut down the machine if the amplitude exceeds 0.01mm to prevent damage.
