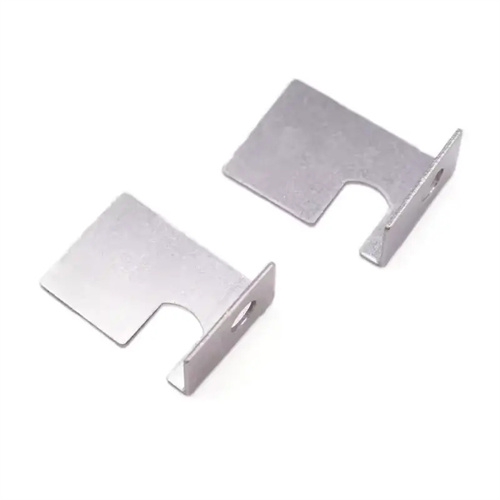
Design of Simple Drawing Die with Flange
The design of a simple drawing die with flange is an important type of metal forming die. It is mainly used to draw flat blanks into cylindrical parts with flanges. It is widely used in automotive parts, pressure vessels, daily hardware and other fields. The flange part of this type of part is not only an important component of the structure, but also often used as an assembly reference, so there are high requirements for its dimensional accuracy, flatness and surface quality. In the early stage of design, the number of drawing times and process parameters need to be determined based on the flange diameter, cylindrical part diameter, height and material properties (such as thickness, yield strength, elongation, etc.) of the part. For example, for a low-carbon steel (Q235) part with a flange diameter of 150mm, a barrel diameter of 80mm, and a height of 60mm, the material thickness is 2mm. It is necessary to determine whether multiple drawing is required by calculating the drawing coefficient. The first drawing coefficient is usually 0.55-0.65, and the subsequent drawing coefficients are increased by 0.05-0.1 in turn to ensure that the material is evenly deformed in each drawing to avoid wrinkling or cracking.
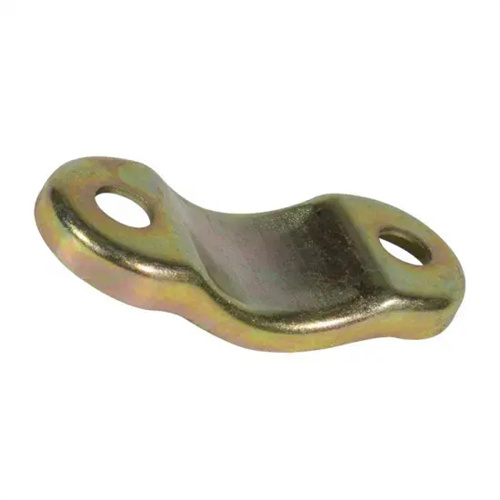
The mold structure design needs to take into account the forming quality of the flange and the cylindrical part, and is mainly composed of a punch, a die, a blank holder, a positioning device and a guide device. The material selection of the punch and die must meet the requirements of high strength and wear resistance. Cr12MoV alloy tool steel is usually used. After quenching, the hardness reaches HRC58-62, and the working surface is polished to Ra0.4μm or less to reduce the friction resistance during the drawing process. The fillet radius of the die is a key parameter, which is generally 5-10 times the material thickness. For materials with a thickness of 2mm, the fillet radius can be set to 10-20mm to promote the smooth flow of the material into the die and reduce the drawing force. The design of the blank holder is particularly important. Its function is to prevent the flange from wrinkling during drawing. The blank holder force needs to be calculated based on the material thickness and the flange area. It is usually 20%-30% of the drawing force. It can be provided by springs, air cushions or hydraulic devices to ensure that the blank holder force is uniform and stable.
The determination of the number of deep drawing and the arrangement of the process directly affect the quality of parts and production efficiency. When the ratio of the flange diameter to the barrel diameter of the part is greater than 1.5, or the total drawing coefficient is less than the first drawing coefficient, multiple deep drawing is required. For example, for a part with a flange diameter of 150mm and a barrel diameter of 80mm, the diameter ratio is 1.875, and it takes 3-4 deep drawing to complete. Each deep drawing needs to reasonably distribute the deformation amount, gradually reduce the barrel diameter and increase the height, while ensuring that the flange diameter meets the design requirements during the last deep drawing. Annealing treatment can be set in the intermediate process to eliminate the work hardening of the material and restore its plasticity. For high-strength materials (such as stainless steel), the annealing temperature is usually 700-800℃, the holding time is 1-2 hours, and it is cooled to room temperature with the furnace. The flatness of the flange needs to be controlled in the last deep drawing, which can be achieved by adding a shaping process. The pressure during shaping is 1.5-2 times the drawing force.
The control and adjustment of the blank holding force is the core link in the design of a simple drawing die with flange. If the blank holding force is too small, the flange part is prone to wrinkling; if the blank holding force is too large, it will increase the material flow resistance, causing the cylinder wall to become thinner or even crack. When designing, an elastic blank holding device (such as a spring or rubber) can be used. Its blank holding force increases with the increase of stroke, which is suitable for shallow drawing; for deep drawing parts, a rigid blank holding device (such as an air cushion) should be used to provide a stable blank holding force to avoid the fluctuation of the blank holding force affecting the forming quality. The gap between the blank holding ring and the die needs to be precisely controlled, generally 1.05-1.1 times the material thickness. For materials with a thickness of 2mm, the gap is set to 2.1-2.2mm to ensure that the material can pass smoothly and effectively prevent wrinkling. In addition, an annular groove or vent hole needs to be opened on the working surface of the blank holding ring to avoid the formation of a vacuum during the drawing process, which makes it difficult to demold the parts.
The debugging and optimization of the mold should be combined with the mold trial results. When testing the mold, first use the blank of the same material as the part for small batch trial production, and evaluate the forming quality by measuring the flange diameter, barrel diameter, height and wall thickness distribution. If the flange is wrinkled, it is necessary to increase the blank holder force or adjust the blank holder gap; if the barrel wall cracks, it is necessary to reduce the drawing deformation or increase the radius of the die corner. For multiple drawing molds, it is necessary to ensure that the dimensions after each drawing are reasonably connected, and the barrel diameter of the previous drawing needs to provide sufficient deformation allowance for subsequent drawing. In daily maintenance, it is necessary to regularly clean the oil and metal debris on the working surface of the mold, check the wear of the punch and die every 1000 times, and repair and grind when the radius of the corner wear exceeds 0.5mm. The guide device needs to be regularly filled with grease to ensure smooth movement, and the matching clearance between the guide column and the guide sleeve is controlled at 0.01-0.03mm to avoid part size deviation due to insufficient guiding accuracy.
