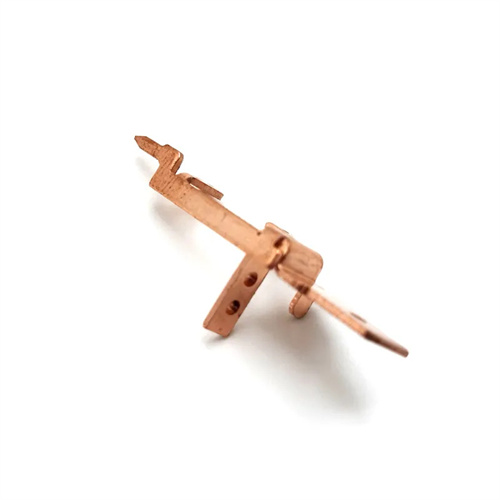
Design of Channel Steel Cutting Die
Channel steel cutting die design is a special die design for steel cutting processing. It is widely used in construction, machinery manufacturing and other fields to cut long channel steel into specific lengths as required. As a long steel strip with a grooved cross section, channel steel needs to solve problems such as cross-section deformation and cutting burrs during cutting. Therefore, die design needs to take into account both cutting efficiency and cutting quality. At the beginning of the design, it is necessary to clarify the model of the channel steel (such as 10#, 12#, etc.), material strength (usually Q235 or Q355) and cutting length accuracy requirements. For example, for 10# channel steel (section height 100mm), the cutting length tolerance needs to be controlled within ±1mm, and the cutting verticality error does not exceed 0.5mm/m. At the same time, the cutting force needs to be calculated based on the yield strength of the channel steel. The cutting force of 10#Q235 channel steel is about 300-400kN. Based on this, a press of appropriate tonnage is selected (it is recommended to use 500kN or more).
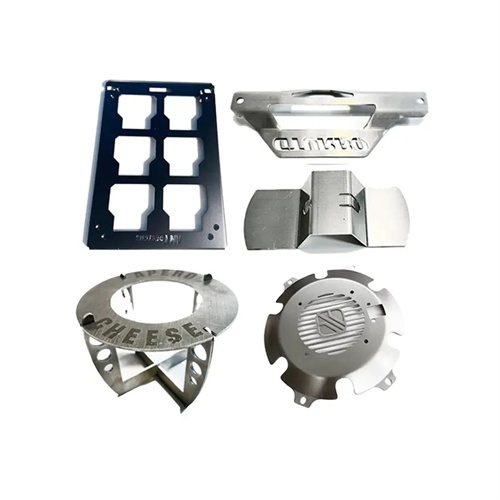
The die structure design needs to adapt to the cross-sectional characteristics of the channel steel, and is mainly composed of an upper die (punch), a lower die (die), a positioning device, and a discharge device. The punch is made of Cr12MoV alloy tool steel, and the hardness reaches HRC58-62 after quenching. The cutting edge is ground to Ra0.8μm to ensure a sharp cutting edge during cutting. The die adopts a split structure, which is composed of two left and right dies, which is convenient for adjusting the cutting edge gap. The gap value is 8%-12% of the thickness of the channel steel. For example, for a 5mm thick channel steel, the gap is set to 0.4-0.6mm, which can reduce cutting burrs. The positioning device adopts a combination of a baffle plate and a side guide plate. The baffle plate is adjusted by bolts to adapt to different cutting lengths, and the side guide plate ensures that the channel steel is fed along the axial direction during the cutting process to avoid cross-sectional skew caused by offset.
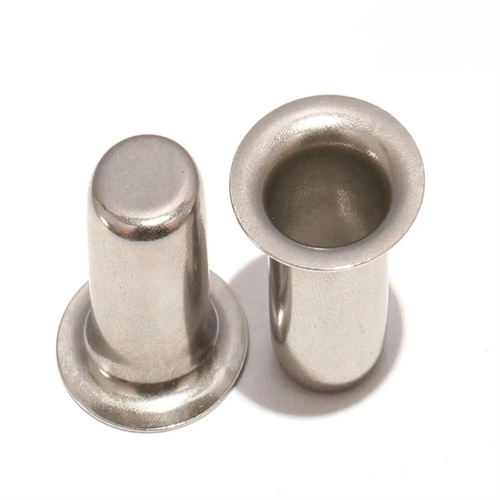
Cutting edge design is the core of channel steel cutting die, which directly affects the cutting quality and die life. The punch edge needs to be designed with a beveled edge structure, with an angle of 5° to 8° with the vertical line. Compared with a flat edge, it can reduce the cutting force by 30% to 40%, reducing the equipment load. The die cutting edge adopts a flat edge design, and the edge radius is controlled at 0.2-0.5mm to prevent tearing when the channel steel is cut. For thick-walled channel steel (thickness exceeding 8mm), a stepped transition can be set on the punch edge to cut the material in stages to avoid damage to the mold due to excessive single cutting force. In addition, the cutting edge surface needs to be nitrided with a nitriding layer thickness of 0.1-0.2mm and a hardness of HV800 or above, which significantly improves wear resistance and extends the mold life to more than 100,000 times.
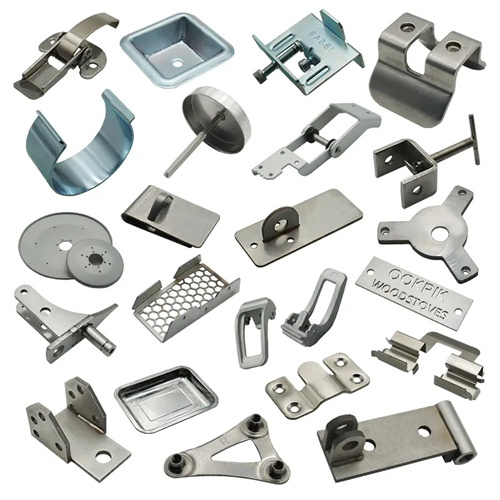
The design of the guide and buffer system is crucial to ensure cutting accuracy. The mold adopts rigid guidance of guide pins and guide sleeves. The diameter of the guide pin is selected from 25 to 35mm according to the size of the mold. The clearance between the guide sleeve and the guide pin is controlled at 0.01 to 0.03mm to ensure that the punch and the die are accurately aligned during the cutting process to avoid gnawing the die. The buffer device is set between the lower die seat and the die, using polyurethane buffer blocks or disc springs, with a buffer stroke of 5 to 10mm, which can absorb the impact force at the moment of cutting and reduce equipment vibration and mold wear. For the cutting die in the automated production line, it is also necessary to design a feeding guide mechanism, using roller guides, and the roller spacing is 1 to 2mm larger than the width of the channel steel to ensure smooth feeding and no lateral displacement.
Standardized processes need to be formulated for mold debugging and maintenance. In the mold trial stage, use scrap materials for trial cutting to check the verticality of the cut and the height of the burr. When the burr exceeds 0.3mm, the cutting edge needs to be ground or the gap needs to be adjusted. Use a dial indicator to measure the length of the channel steel after cutting, and select 10 pieces from each batch for inspection to ensure that the length tolerance is within the design range. In daily maintenance, the iron filings on the cutting edge need to be cleaned every 2000 times, and the wear of the cutting edge needs to be checked. When the cutting edge is cracked or the wear exceeds 0.5mm, it needs to be repaired or replaced in time. For the positioning device, the position accuracy of the baffle plate needs to be checked every week, and the gap with the channel steel needs to be measured with a feeler gauge to ensure that the gap does not exceed 0.5mm to prevent dimensional deviation caused by inaccurate positioning. When stored for a long time, anti-rust oil needs to be applied to the cutting edge surface, and grease needs to be injected into the guide pin and guide sleeve to prevent mold corrosion.
