Swing bend die design
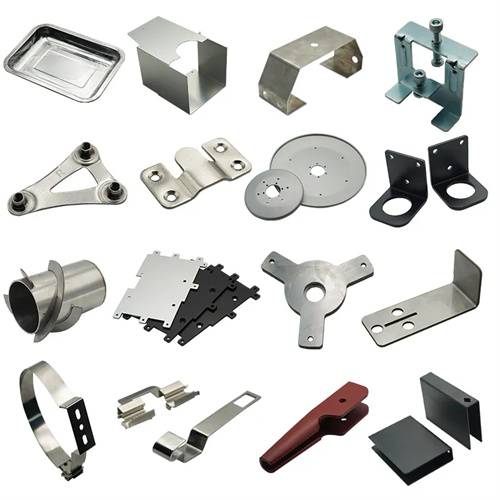
The design of the swing bending die is an important technology for the forming of complex bent parts. It is especially suitable for the processing of parts with multi-angle and asymmetric bending features. It is widely used in high-precision fields such as aerospace and automobile manufacturing. Compared with traditional fixed molds, the swing bending die achieves multi-directional bending through a rotatable swing mechanism, which can effectively reduce the number of processes and improve the forming accuracy of parts. At the beginning of the design, the bending angle, radius of curvature and material properties of the parts need to be clarified. For example, for high-strength materials such as titanium alloys, their cold work hardening characteristics need to be considered, and the swing sequence needs to be reasonably planned to avoid cracking caused by excessive deformation of the material. At the same time, the motion trajectory design of the swing mechanism needs to be verified through kinematic simulation to ensure smooth connection of each bending process and avoid interference.
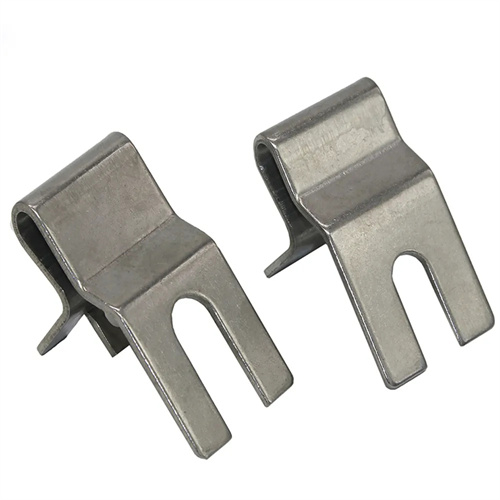
The core structure of the swing bending die includes a swing frame, a drive device, a positioning assembly and a guide mechanism. As a key component of the bearing bending die, the swing frame needs to be made of high-strength alloy steel, such as 40CrNiMoA. After quenching and tempering, the hardness reaches HRC30-35, which not only ensures sufficient strength but also has a certain toughness to prevent deformation due to impact loads during the swinging process. The drive device usually uses a servo motor with a ball screw to achieve precise control of the swing angle. The positioning accuracy can reach ±0.05°, meeting the requirements of high-precision bending. The positioning assembly needs to be designed according to the shape of the part. For irregular parts, a combined positioning block can be used. By adjusting the position of the positioning block, it can adapt to the processing of parts of different specifications and improve the versatility of the mold.
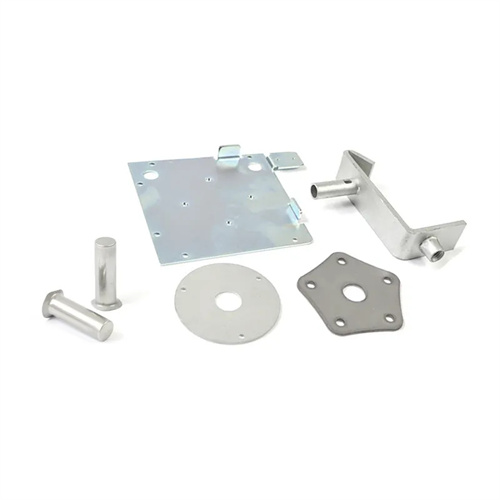
The accuracy of the guide mechanism directly impacts the forming quality of the swing bend die. Roller or cross-roller guides are typically used to ensure smooth swing frame movement, with clearances controlled within a range of 0.01-0.03mm. The guide rail surface undergoes high-frequency hardening to a hardness of HRC 58-62 and is lubricated with wear-resistant grease to reduce friction. Furthermore, the guide mechanism requires a dust cover to prevent iron filings and dust generated during processing from entering the guide rails and affecting motion accuracy. For large swing bend dies, balancing devices, such as counterweights or hydraulic balancing cylinders, are also required at both ends of the swing frame to offset inertial forces during the swing process and prevent positioning errors caused by equipment vibration.
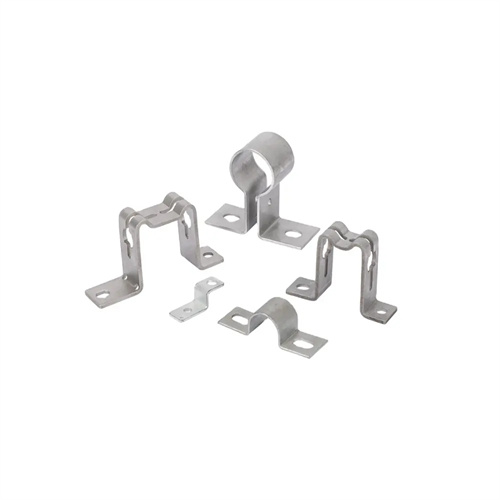
Process parameter optimization is an important part of the swing bending die design. The swing speed, bending force and holding time need to be determined according to material thickness, yield strength and other parameters. Taking a low-carbon steel plate with a thickness of 5mm as an example, the swing speed should be controlled at 10-15°/s. Too fast will easily lead to uneven plastic deformation of the material, while too slow will reduce production efficiency. The bending force calculation needs to be simulated by finite element analysis software in combination with the part size to ensure that the mold structure strength meets the requirements. For example, for a U-shaped part with a bending radius of 10mm, the stress distribution of the swing frame needs to be verified by ANSYS software simulation to avoid cracking caused by local stress concentration. The holding time is usually set to 3-5s to fully release the internal stress of the material and reduce the amount of springback.

The debugging and maintenance of the swing bending die are crucial to ensure production stability. A step-by-step debugging method is required during the mold trial stage. First, no-load operation is performed to check the coordination of each mechanism, and then the forming effect is verified by gradually increasing the bending angle. For the problem of springback tolerance, it can be solved by adjusting the compensation angle of the swing mechanism. For example, when the actual bending angle of the part is 1° less than the design value, the preset angle of the mold can be increased by 1.2° to offset the springback. In daily maintenance, the clearance of the swing shaft needs to be checked regularly, and precision calibration is performed every 500 hours of work. The swing angle error is measured and recorded using a laser interferometer. At the same time, the servo motor of the drive device needs to be lubricated regularly, and the guide rail surface needs to be cleaned and greased every week to ensure that the service life of the mold reaches more than 100,000 times.
