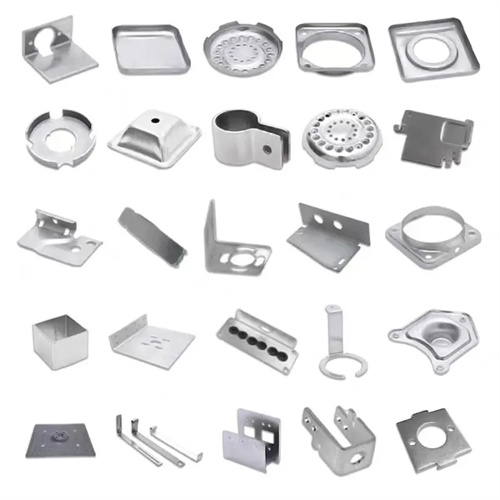
Design of U-shaped bending die for bar
The design of the U-shaped bending die for bars focuses on the U-shaped forming of cylindrical bars, and is widely used in the fields of hardware tools, engineering machinery, etc., such as the manufacture of parts such as wrenches and brackets. Unlike the bending of plates, the cross section of the material is prone to elliptical deformation when the bar is bent, so the design needs to focus on solving the problems of cross-sectional distortion and springback control. In the early stage of design, the bending radius needs to be determined according to the bar diameter and material grade (such as 45 steel, Q235, etc.). Usually, the bending radius is not less than 1.5 times the diameter of the bar to avoid cracks in the bending part. At the same time, the minimum bending force needs to be determined through material mechanics calculations to provide a basis for the selection of stamping equipment. For example, the minimum bending force of a 45 steel bar with a diameter of 10mm is about 80kN, and a press of more than 100kN needs to be selected.
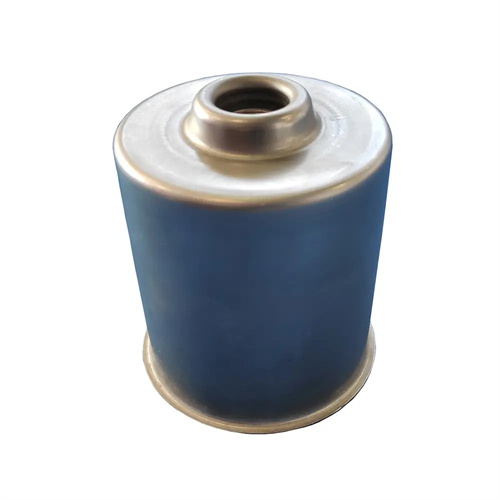
The structure of the bar U-shaped bending die consists of a punch, a die, a clamping device and an ejection mechanism. The punch design must match the inner shape of the U-shaped part, and the working surface must be polished to a roughness of less than Ra0.8μm to reduce friction resistance during the bending process. The die adopts a split structure, consisting of a left and right die and a base, which is convenient for adjusting the gap on both sides. The gap value is generally 1.05-1.1 times the diameter of the bar. For example, for a bar with a diameter of 8mm, the gap is set to 8.4-8.8mm, which can effectively prevent the cross-section from becoming oval. The clamping device adopts a V-shaped block structure, and the pre-clamping of the bar is achieved through a spring or hydraulic drive. The clamping force needs to be moderate. Taking a bar with a diameter of 6mm as an example, the clamping force should be controlled at 5-8kN. Too large a force will cause local deformation of the bar, and too small a force will cause slippage.
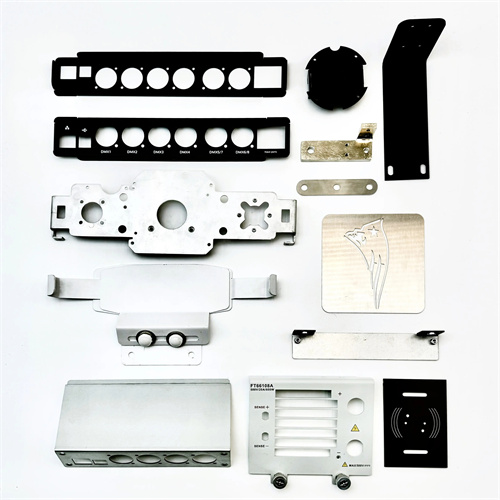
The design of lubrication system is the key link of bar U-bending die. Good lubrication can reduce die wear and reduce bending force. Usually, a lubrication groove is set on the working surface of the die, and the lubricating oil is delivered regularly by centralized oil supply. For materials that are easy to stick to the die, such as stainless steel, extreme pressure grease (such as molybdenum disulfide grease) should be selected. The cross section of the lubrication groove is semicircular, with a diameter of 3-5mm and a spacing of 20-30mm to ensure that the lubricating oil is evenly distributed on the contact surface. In addition, the surface of the bar can be phosphated before bending to form a layer of phosphate film to enhance the lubrication effect and prevent mold corrosion. For mass production, it is recommended to use an automatic lubrication system to control the supply amount and time interval of the lubricating oil through PLC to achieve intelligent management.
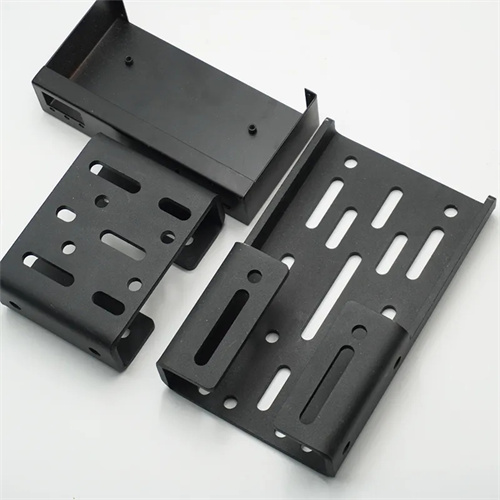
Temperature control is particularly important when bending high-hardness bars. When processing alloy structural steels such as 40Cr, a heated bending process is required, heating the bars to 800-900°C (the austenitizing temperature range) to reduce the material’s yield strength and minimize bending force. The mold should be equipped with a heating device, such as an embedded electric heating tube within the die. The temperature is monitored in real time by a thermocouple, with a temperature control accuracy of ±10°C. For low-carbon steel bars bent at room temperature, the impact of frictional heat on die life must be considered. The die should be constructed of heat-resistant steel, such as H13 steel, which achieves a hardness of HRC 48-52 after quenching, providing excellent wear and heat resistance. Cooling water channels with a diameter of 8-10 mm and a flow rate of 1-2 m/s can be installed within the mold to promptly dissipate frictional heat.
Strict standards need to be formulated for the debugging and quality control of the bar U-shaped bending die. When testing the die, first use scrap materials for trial bending to check the bending angle, dimensional accuracy and surface quality. For the problem of cross-sectional ovality exceeding tolerance, it can be solved by adjusting the gap of the die. For example, when the ovality reaches 5%, the gap needs to be increased by 0.2mm. The dimensions of the parts after bending are detected by a three-coordinate measuring instrument, focusing on controlling the width of the U-shaped opening and the radius of the bottom fillet, with tolerances within the range of ±0.1mm and ±0.05mm respectively. For mass-produced parts, 5 pieces are sampled every hour for random inspection, and X-R control charts are drawn to monitor dimensional stability. In terms of mold maintenance, the wear of the punch and die needs to be checked every week. When scratches with a depth of more than 0.2mm appear on the working surface, polishing and repair are required to ensure that the surface roughness of the parts meets the requirements (Ra1.6μm or less).
