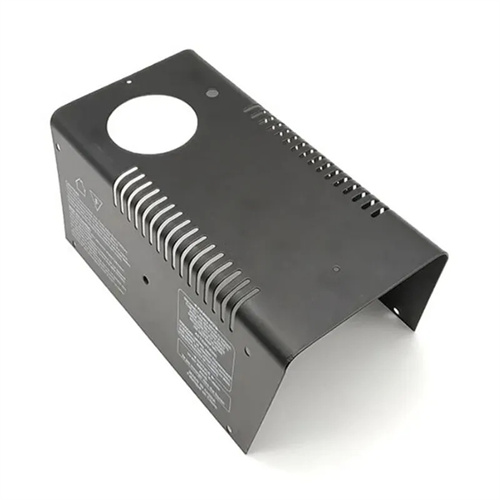
Design of V-shaped and U-shaped precision bending die
The design of V-shaped and U-shaped precision bending dies is an optimized design for high-precision bending parts based on the design of ordinary bending dies. It is mainly used in aerospace, precision instruments, automotive parts and other fields that require extremely high precision of parts. The design of precision bending dies must not only ensure the shape and dimensional accuracy of parts, but also control the surface quality and internal stress of parts to meet the performance requirements of parts. In the early stage of design, it is necessary to conduct a detailed analysis of the accuracy requirements of parts, including dimensional tolerance, form and position tolerance, surface roughness, etc., and determine the design accuracy and manufacturing process of the mold based on these requirements.
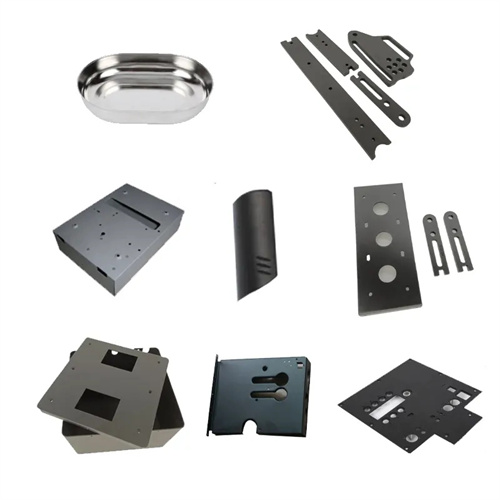
Compared with ordinary bending dies, the structural design of precision bending dies has higher precision and more complex structure. For V-shaped precision bending dies, the working surfaces of the punch and die need to be finely processed, and the surface roughness needs to be below Ra0.8μm to reduce scratches on the surface of the part during the bending process. The angle of the die needs to be accurately calculated according to the rebound characteristics of the part. The best angle is usually determined by multiple trial molds to ensure that the angle accuracy of the part is within ±0.1°. U-shaped precision bending dies need to be set up with a more precise guide mechanism, generally using ball guide pins and guide sleeves to ensure that the matching clearance between the punch and die is between 0.01-0.03mm to avoid part size deviation caused by uneven clearance. At the same time, the pressing device of the U-shaped precision bending die needs to use elastic elements, such as nitrogen springs, to provide stable pressing force, ensure uniform pressing, and prevent wrinkles and deformation of parts during bending.
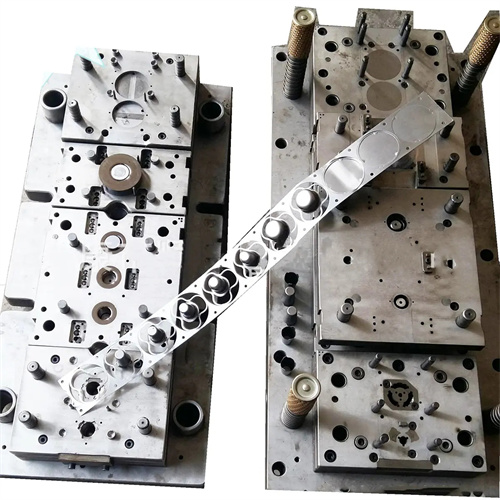
Material pretreatment is also crucial for the design of V-shaped and U-shaped precision bending dies. Before precision bending, the sheet metal needs to be annealed to eliminate the internal stress of the material, reduce the hardness of the material, and improve the plasticity of the material to reduce the rebound and cracking during the bending process. For high-strength alloy materials such as aluminum alloys and titanium alloys, the temperature and time of annealing treatment must be strictly controlled to ensure that the performance of the material meets the precision bending requirements. In addition, the surface treatment of the sheet metal is also very important. For parts with higher requirements, the surface of the sheet metal needs to be polished or plated to prevent surface scratches and rust during the bending process.
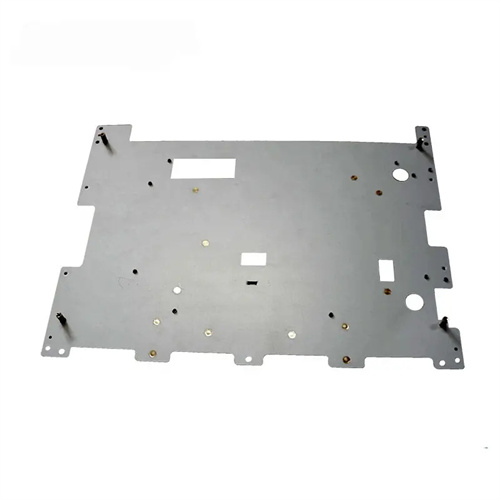
Optimization of precision bending process parameters is the key to ensuring part accuracy. Parameters such as bending speed, bending temperature, and holding time will affect the bending quality of parts. For V-shaped precision bending, the bending speed should be controlled at 5-10mm/s to avoid impact deformation of parts due to excessive speed; the speed of U-shaped precision bending can be appropriately reduced to ensure the uniformity of bending on both sides. For materials that require heating for precision bending, the heating temperature must be determined according to the characteristics of the material. For example, the heating temperature of aluminum alloy is generally 200-300℃, and that of titanium alloy is 600-800℃. During the heating process, the temperature must be uniform to avoid local overheating that may lead to a decrease in material performance. Holding time is also an important parameter, generally 5-10s, so that the parts are fully deformed under pressure and springback is reduced.
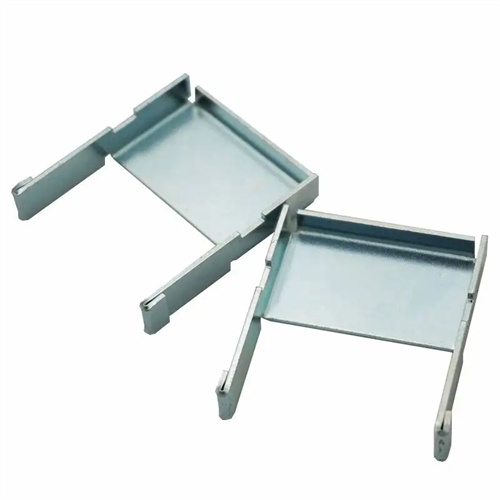
The detection and correction links are indispensable in the design of V-shaped and U-shaped precision bending dies. After the precision bending die is manufactured, it is necessary to test the die and test it. The size and shape of the bent part are measured by precision testing equipment such as a three-coordinate measuring machine, compared with the design requirements, find out the cause of the deviation and make corrections. For angular deviation, it can be compensated by adjusting the angle of the die; for dimensional deviation, the gap between the punch and the die or the position of the positioning device can be adjusted. During the die trial process, it is also necessary to observe the surface quality of the parts and check whether there are defects such as scratches and cracks. If there are any problems, the working surface of the mold needs to be re-polished or the pressing force needs to be adjusted. After multiple die trials and corrections, the accuracy of the bent part meets the design requirements before it can be put into mass production. At the same time, during the mass production process, the mold needs to be regularly inspected and maintained to ensure that the accuracy of the mold remains stable and the consistency of the part quality is guaranteed.
