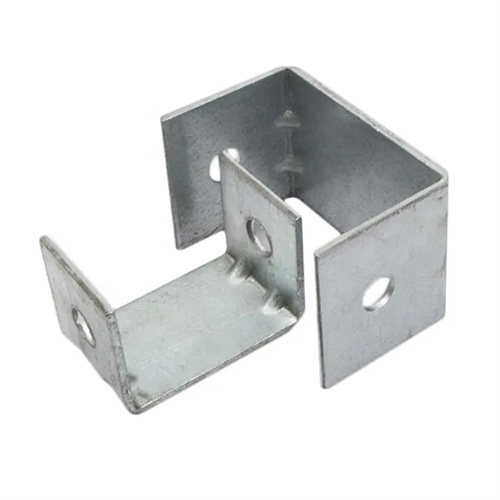
Calculation of cutting edge size of punching die
Calculating the cutting edge dimensions of a punching die is a core element of die design, directly impacting the dimensional accuracy of the part being punched and the die’s lifespan. This calculation requires determining the punch and die cutting edge dimensions based on the part’s dimensional accuracy requirements, material thickness, blanking clearance, and die wear patterns, ensuring that the actual dimensions of the punched part remain within the permitted tolerances. Because the punch and die wear over time, cutting edge dimension calculations must also consider the impact of wear on dimensions and rationally allocate die manufacturing tolerances to extend die life.
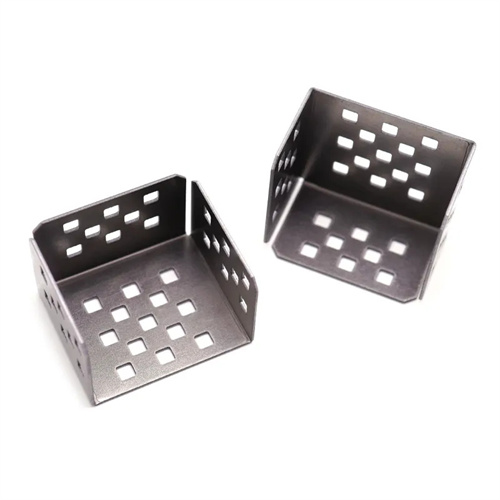
The basic principle for calculating blanking die edge dimensions is “the die edge dimensions are used as the basis for blanking, and the punch edge dimensions are used as the basis for punching.” During blanking, the part’s external dimensions are determined by the die edge dimensions. Therefore, the die edge dimensions should be equal to the part’s maximum limit dimensions, while the punch edge dimensions should be equal to the die dimensions minus the double clearance. During punching, the part’s internal hole dimensions are determined by the punch edge dimensions. Therefore, the punch edge dimensions should be equal to the part’s minimum limit dimensions, while the die edge dimensions should be equal to the punch dimensions plus the double clearance. This calculation principle ensures that even after die wear reaches a certain level, part dimensions remain within the allowable tolerance range, extending the die’s service life. For example, for a blanked part with external dimensions of 50 mm ± 0.1 mm, the die edge dimensions should be 50.1 mm, and the punch edge dimensions should be 50.1 mm minus the double clearance.
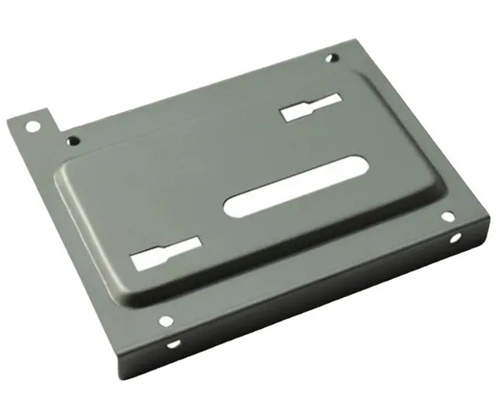
There are two main methods for calculating the cutting edge size of a blanking die: the “wear coefficient method” and the “extreme value method.” The wear coefficient method introduces a wear coefficient to correct the cutting edge size based on the wear pattern of the die cutting edge. It is suitable for medium-precision blanking parts. The wear coefficient is usually 0.5-1.0. For cutting edges with simple shapes such as circles, the wear coefficient can be 1.0, that is, the die cutting edge size is equal to the maximum limit size of the part, and the punch cutting edge size is equal to the minimum limit size of the part minus the bilateral clearance. For cutting edges with complex shapes, the wear coefficient can be 0.5-0.8 depending on the wear conditions. The extreme value method determines the limit range of the cutting edge size by calculating the limit deviation of the part size and the manufacturing tolerance of the die. It is suitable for high-precision blanking parts. Its calculation process is relatively complex, but it can ensure the accuracy requirements of the part size.
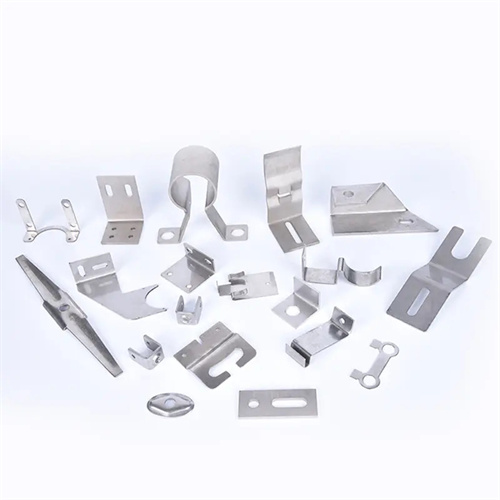
Material thickness and blanking clearance have a significant impact on cutting edge size calculations. The thicker the material, the larger the blanking gap and the larger the difference in cutting edge size. The better the plasticity of the material, the smaller the blanking gap required and the smaller the difference in cutting edge size. When calculating the cutting edge size, you must first determine the reasonable blanking clearance based on the material thickness and type, and then calculate the size of the punch and die based on the clearance value. For example, for a low-carbon steel plate with a thickness of 2mm, the reasonable bilateral clearance is 0.16-0.24mm. If the punching diameter is 10mm±0.05mm, the punch edge size is 10mm, and the die edge size is 10mm+0.16mm=10.16mm (at the minimum clearance) or 10mm+0.24mm=10.24mm (at the maximum clearance).
The mold’s manufacturing tolerance is also a key factor in calculating cutting edge dimensions. The size of the manufacturing tolerance should be determined based on the part’s precision requirements, generally ranging from 1/3 to 1/5 of the part’s tolerance. For high-precision parts, the mold manufacturing tolerance should be smaller to ensure accurate cutting edge dimensions. For low-precision parts, the mold manufacturing tolerance can be increased to reduce manufacturing costs. For example, if the part tolerance is 0.1mm, the mold manufacturing tolerance can be 0.02-0.03mm. When marking cutting edge dimensions, both the basic dimensions and the tolerance must be indicated. The tolerance for the die is positive, while the tolerance for the punch is negative to ensure a reasonable blanking clearance after assembly.
After calculating the cutting edge dimensions, they must be verified through trial punching. During trial punching, the cutting edge dimensions are adjusted based on the actual dimensions of the part being punched. If the part is too large, the die size should be appropriately reduced (for blanking) or the punch size should be increased (for punching). If the part is too small, the die size should be appropriately increased or decreased. For complex shapes, a matching method can be used: the die is first machined, and then the punch is matched to the actual dimensions of the die, ensuring a uniform gap between the punch and the die. Through reasonable cutting edge dimension calculation and trial punching adjustments, the dimensional accuracy of the part can be guaranteed, the die life can be extended, and production efficiency can be improved.
