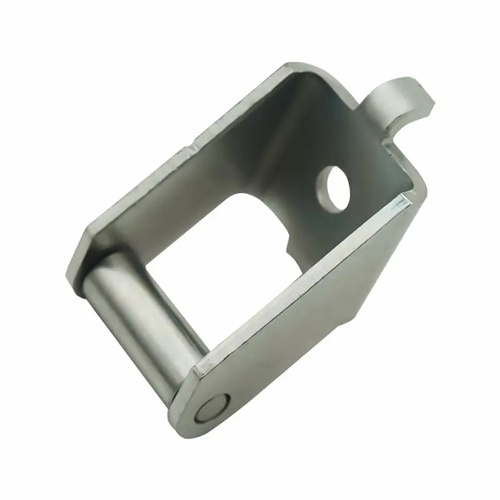
Design of blanking die process layout
Designing a die layout is a crucial step in blanking process planning. Its primary objective is to rationally plan the sequence of blanking steps and the arrangement of parts on the sheet metal, based on the part’s shape, size, precision requirements, and production batch size. This approach maximizes material utilization, simplifies the die structure, and ensures part quality. This layout directly impacts the die’s structural complexity, production efficiency, and manufacturing costs, making it a critical early stage task in die design. An excellent layout design should maximize material utilization, minimize the number of steps, and optimize production efficiency while ensuring part quality.
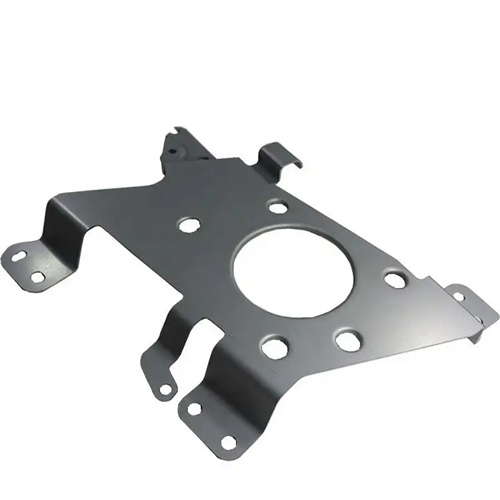
The primary principle of process layout design is to maximize material utilization. Material utilization is a key indicator of layout rationality and is calculated as follows: Material utilization = (area of blanking parts × number) / (total sheet area) × 100%. To improve material utilization, an appropriate arrangement should be selected based on the part shape. Common arrangements include straight, diagonal, opposite, and mixed. Straight arrangement is suitable for rectangular or symmetrical parts; it simplifies the arrangement and offers moderate material utilization. Diagonal arrangement is suitable for parts with arcs or sharp angles; adjusting the tilt angle can reduce gaps between parts and improve material utilization. Opposite arrangement is suitable for symmetrical parts; symmetrical arrangement effectively utilizes sheet space. Mixed arrangement is suitable for blanking a variety of different shapes together, improving material utilization through appropriate combination. For example, for round parts, a plum blossom arrangement can improve material utilization by 10%-15% compared to a straight arrangement. For irregular-shaped parts, optimization through computer-aided nesting software can increase material utilization by 5%-20%.
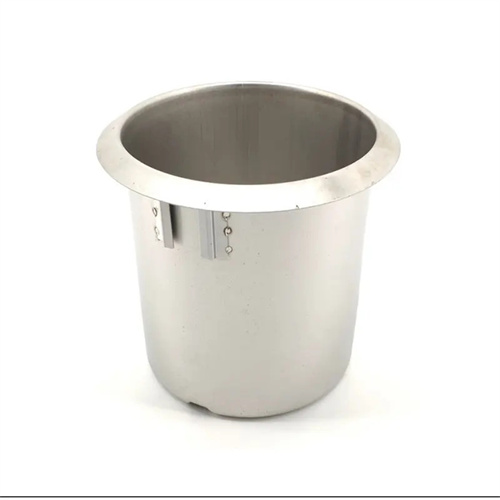
The rational arrangement of process sequences is the core of process layout design. The order of each blanking process must be determined based on the structural characteristics and precision requirements of the blanked part. Generally speaking, the principle of “punching first, then blanking” should be followed, as this ensures the relative positional accuracy of the holes and the outer shape. For complex parts with holes, small holes should be punched first, followed by large holes, to avoid deformation of the small holes during punching of the large holes. For parts that require bending or forming, the blanking process should be completed before the forming process to prevent difficulty in positioning the formed part. In progressive die layout, the process sequence must also consider the force balance of the die to avoid excessive stress in certain areas of the die due to the concentration of processes. For example, in the progressive blanking of motor stators and rotors, the layout sequence is typically: punching process positioning holes → punching ventilation holes → punching shaft holes → blanking. This step-by-step blanking ensures the dimensional and positional accuracy of each component.
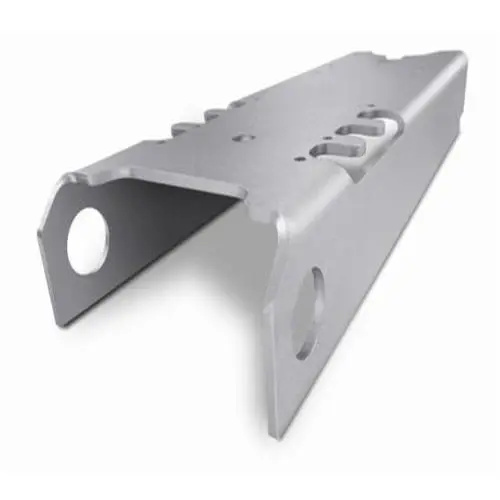
The determination of the step distance and overlap value is the key parameter in the design of the process layout. The step distance refers to the distance between two adjacent stations in the continuous die, which is equal to the feed direction dimension of the blanking part plus the overlap value. The accuracy of the step distance directly affects the positioning accuracy of the continuous blanking, and is generally taken as ±0.01-±0.03mm. Overlap refers to the excess material between the blanking parts or between the blanking parts and the edge of the sheet. Its function is to ensure that the sheet has sufficient rigidity to prevent deformation during the feeding process, and to provide a positioning reference for the positioning device. The size of the overlap value depends on the material thickness, material properties, part shape and feeding method. The thicker the material and the better the plasticity, the larger the overlap value; the overlap value of manual feeding is 0.5-1mm larger than that of automatic feeding; where the edge of the part is complex or there are sharp corners, the overlap value should be appropriately increased. For example, for a low-carbon steel plate with a thickness of 1mm, the overlap value for manual feeding is generally 1-1.5mm, and for automatic feeding it is 0.5-1mm; for a steel plate with a thickness of 5mm, the overlap value needs to reach 2-3mm.
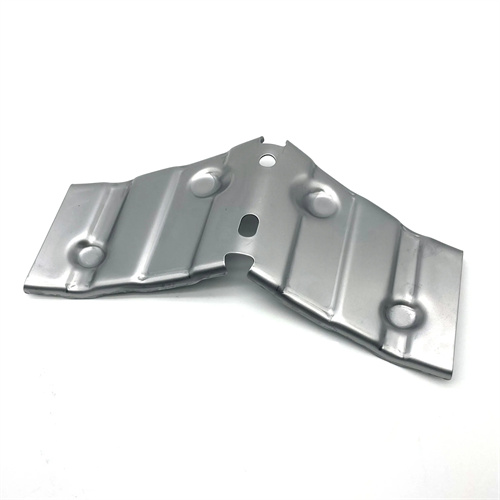
The design of process layout drawings must consider the feasibility and economy of the mold structure. The layout plan should make the mold structure simple, easy to manufacture, and low-cost. For simple parts produced in large quantities, continuous mold layout should be used to achieve automated production; for complex parts produced in small and medium batches, compound mold layout can be used to reduce the number of processes; for parts with high precision requirements, the number of processes should be minimized to avoid errors caused by multiple positioning. The strength and life of the mold must also be considered during layout to avoid sharp corners or stress concentration in local areas of the mold. For layout of large parts, the mold should be evenly stressed to prevent deformation. For example, in the blanking layout of large cover parts, single-process molds or compound molds are usually used to avoid the lack of rigidity caused by the excessive span of the continuous mold; in the layout of small precision parts, multi-station continuous molds are used to improve production efficiency.
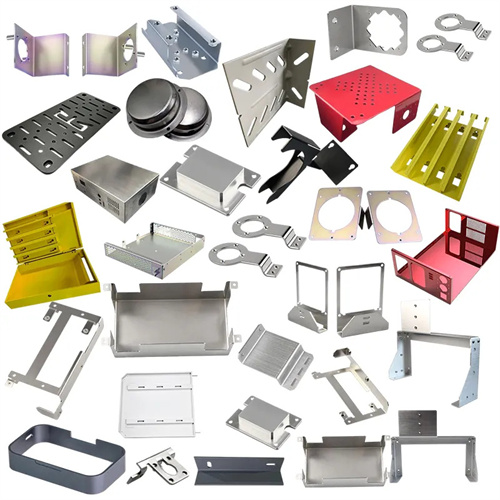
After the process layout diagram is designed, a detailed layout diagram needs to be drawn to mark the position, size, step distance, overlap value of each process and the specifications of the sheet material. The layout drawing should clearly reflect the forming process of the blanking parts, including the blanking content of each workstation, the discharge method of waste materials, and the shape changes of the process parts. In actual production, it is also necessary to verify the rationality of the layout plan through trial punching, and adjust the step distance, overlap value or process sequence according to the test punching results to ensure that the layout plan meets production requirements. With the development of computer technology, computer-aided layout ( CAPP) and three-dimensional simulation technology have been widely used in layout design. By simulating the blanking process with software, possible problems can be predicted, layout plans can be optimized, and design efficiency and reliability can be improved. Through scientific and reasonable process layout design, the economy and technical feasibility of blanking production can be significantly improved, laying the foundation for high-quality and efficient blanking production.
