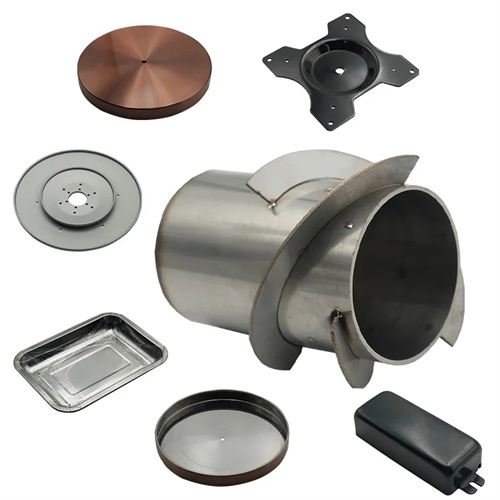
Design of Brass Sleeve Flanging Die
Brass sleeve flanging die design is a specialized die technology for flanging the ends of brass sleeves. Widely used in plumbing, instrumentation, and other fields, this die technology creates a flange structure that provides sealing and connection functions by radially tilting the end of the brass sleeve outward or inward. Brass materials (such as H62 and H65) have good plasticity (elongation ≥30%) but relatively low strength (tensile strength 300-400 MPa), making them prone to wrinkling and cracking during the flanging process. Therefore, die design focuses on controlling the deformation rate and blank holding force. Initially, the preformed hole diameter should be calculated based on the brass sleeve’s inner diameter (e.g., 20-80 mm), wall thickness (1-3 mm), and flanging height (5-20 mm). The formula is d0 = d – 2h (where d is the final flanging diameter and h is the flanging height). For example, for a brass sleeve with a flanging diameter of 50 mm and a height of 10 mm, the preformed hole diameter should be 30 mm to ensure uniform material flow during the flanging process.
The die structure consists of a flanging punch, a die, a blank holder, a positioning mandrel, and a discharge mechanism. The flanging punch is made of Cr12MoV alloy tool steel, achieving a hardness of HRC58-62 after quenching. The head corner radius is 1-2 times the material thickness. For a 2mm thick brass sleeve, the corner radius is set at 2-4mm to prevent cracking during flanging. The die is a split-piece structure consisting of a die sleeve and a carbide insert (YG15) with a hardness of HRA85-88. The working surface is polished to less than Ra0.4μm to reduce friction. The positioning mandrel fits within the inner wall of the brass sleeve, with a clearance of 0.05-0.1mm, ensuring that the part axis coincides with the die center during flanging. The mandrel is made of 45 steel, hardened to HRC28-32 after quenching and tempering, providing both rigidity and wear resistance.
Controlling the blank holder force is crucial for flanging brass sleeves. A nitrogen gas spring provides stable blank holder force, calculated according to the formula F=K×π×d0×t×σs (K is the coefficient, d0 is the prefabricated hole diameter, t is the wall thickness, and σs is the brass yield strength). For H62 brass sleeves (σs≈200MPa), the blank holder force is typically 5-15kN and dynamically adjusted with the flanging stroke. Initially, the blank holder force is low (5-8kN) to prevent excessive material constraint. Later in the flanging process, it is increased to 10-15kN to suppress wrinkling. The gap between the blank holder and the die is 1.05-1.1 times the material thickness. For a 2mm thick brass sleeve, the gap is set at 2.1-2.2mm to ensure smooth material flow. Furthermore, an annular oil groove (1.5mm wide and 0.5mm deep) is provided on the surface of the blank holder to store specialized brass drawing oil (viscosity 20-30cSt), reducing the friction coefficient to below 0.1.
The flanging forming process parameters must precisely match the characteristics of brass. The flanging speed is controlled at 50-100mm/s. Too fast will easily cause local temperature rise (over 100°C), causing the material to soften and crack; too slow will increase the production cycle. For flanging with a height of more than 10mm, a stepped punch is required to complete the flanging in two steps. The first flanging is to 45°, and the second flanging is to the target angle (usually 90°). Low-temperature annealing (150-200°C, holding temperature for 30 minutes) can be arranged in between to eliminate work hardening. The downward distance of the flanging punch must be precisely controlled, and the bottom dead center position must be 0.5-1mm lower than the flanging height to ensure that the flanging is fully formed while avoiding collision with the rigidity of the mold.
During commissioning and maintenance, attention should be paid to changes in material properties. During mold trials, assess forming quality by measuring the verticality of the flange (error <0.1mm/m) and thickness uniformity (thinning rate <10%). If wrinkling occurs, increase the blank holder force or reduce the flanging speed. If cracking occurs, increase the punch corner radius or adjust the prefabricated hole size. During routine maintenance, clean copper shavings from the surface of the die insert every 2000 cycles and inspect the cutting edge for wear (regrind if wear >0.05mm). Check the outer diameter of the positioning mandrel every 5000 cycles and replace it if the clearance exceeds 0.15mm to ensure positioning accuracy. During storage, apply anti-rust oil to the working surface of the mold to prevent contamination from the patina caused by brass oxidation.
