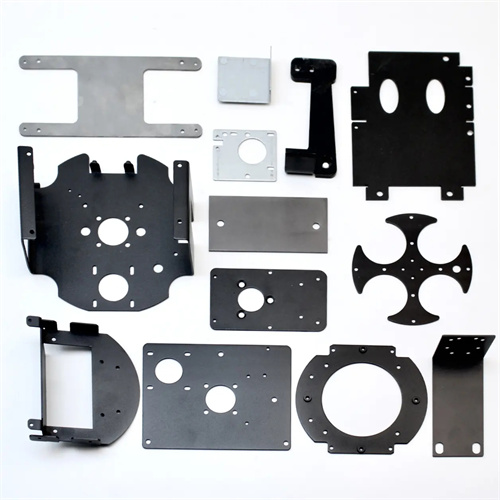
Design of simple precision punching die
The simple fine-blanking die design is a low-cost, high-precision blanking technology optimized from traditional punching dies. It is suitable for the production of small and medium-volume precision parts, such as gears and gaskets used in instruments and meters. It can achieve a bright band on the blanked section that accounts for over 90% of the material thickness, with a roughness as low as Ra0.8 μm and dimensional tolerances controlled within the IT7-IT8 level. Compared to complex fine-blanking dies, it omits the complex gear ring pressure plate and counter-pressure plate drive mechanisms, reducing manufacturing costs through structural simplification while retaining the core advantages of fine-blanking. At the initial design stage, the appropriate fine-blanking gap must be selected based on the part material thickness (usually 0.5-3mm) and mechanical properties. Generally, this gap is 1%-3% of the material thickness. For mild steel with a thickness of 1mm, the gap is set to 0.01-0.03mm to ensure that the material is in a pure shear state during the blanking process.
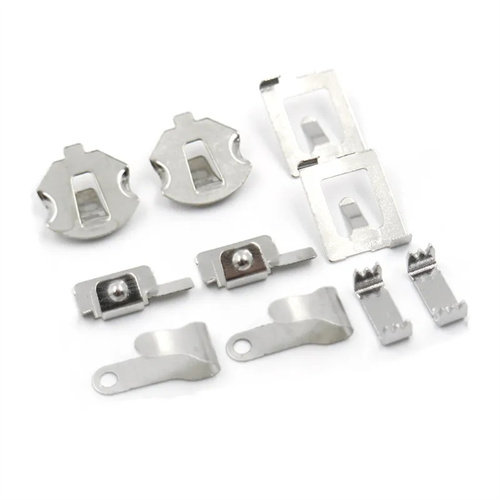
The die structure consists of a punch, a die, a simple blank holder, a guide mechanism, and a discharge device. The punch and die are constructed of Cr12MoV alloy tool steel, achieving a hardness of HRC60-62 after quenching. The working surfaces are super-finely ground, with a cutting edge height of 3-5mm. The die is a monolithic structure formed by wire-cut machining, with a cutting edge radius of less than 0.02mm, ensuring uniform material breakage during blanking. The simple blank holder is spring-driven and mounted on the upper die. The blank holder force is controlled by adjusting the spring preload, typically 25%-35% of the blanking force. For a 1mm thick mild steel part, a blank holder force of 8-12kN is used to prevent wrinkling and cross-sectional defects caused by excessive restraint.
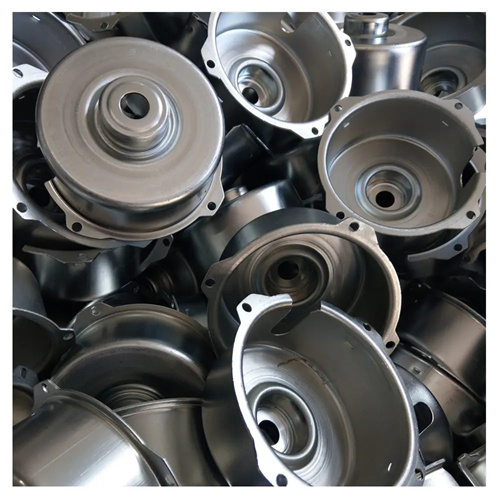
The guiding and positioning systems must ensure high-precision fit. Ball guide pins and guide bushings are used, with a guide pin diameter of 16-25mm and a clearance of 0.005-0.01mm to ensure precise alignment of the punch and die during the blanking process. The positioning device uses a combination of locating pins and guide plates. The clearance between the locating pins and the prefabricated holes in the part is 0.01-0.02mm, and the spacing between the guide plates is 0.1-0.2mm larger than the width of the strip, ensuring a blank feeding accuracy of ±0.03mm. For parts without prefabricated holes, side blade spacing can be used, with the side blade width 0.05mm larger than the step distance to ensure that the cumulative feeding error does not exceed 0.05mm.
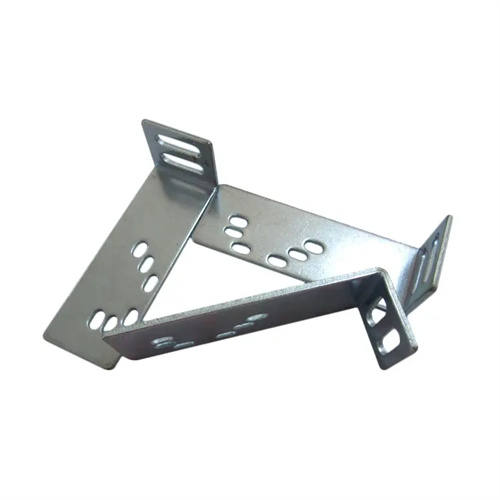
Optimizing process parameters is key to quality control for simple fine-blanking dies. The blanking speed should be controlled at 10-30 mm/s, lower than conventional blanking speeds. This allows ample time for the material to shear and deform, preventing tearing. For materials thicker than 2 mm, a stepped punch should be used. Initially, a slight pressure is applied to the material 0.1-0.2 mm to create a pre-shear before full-stroke blanking, minimizing fluctuations in blanking force. For lubrication, a specialized fine-blanking oil (containing extreme pressure additives) should be used to form a uniform oil film (5-10 μm thick) on the strip surface, reducing the coefficient of friction to below 0.08 and minimizing edge wear.
Commissioning and maintenance require meticulous attention to detail. During mold trials, perform a single punch test and observe the cross-sectional morphology under a microscope. If the bright band width is insufficient, reduce the blanking gap (by 0.005mm at a time). Check the clearance between the punch and die after every 1,000 pieces, and regrind if wear exceeds 0.01mm. Lubricate the guide mechanism with precision grease every 500 strokes to ensure smooth movement. For mass production, a simple feed mechanism can be added to the mold. This uses a pneumatic cylinder to push the strip material, with a feed accuracy of ±0.05mm. Combined with a photoelectric sensor, this allows for semi-automatic production, balancing efficiency and cost.
