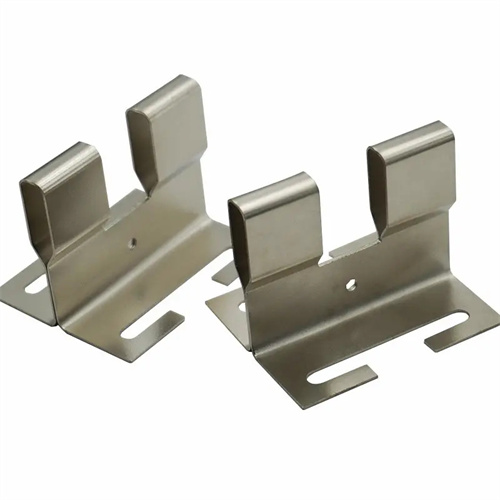
Design of Multi-Station Drawing Progressive Die
The multi-station drawing progressive die design is a continuous forming technology that integrates drawing, punching, trimming and other processes. It is suitable for mass production of small deep cylindrical parts, such as battery shells, relay shells, etc. By arranging multiple drawing and auxiliary processes in different stations of the same mold in sequence, it can realize full automatic production from strip to finished product. Compared with the single-station drawing die, it can reduce the intermediate transfer link, improve production efficiency by 3-5 times, and have higher part dimensional accuracy (up to IT9 level). In the early stage of design, the number of stations needs to be determined according to the number of drawing times, height (usually 5-50mm) and material (such as brass, aluminum, low carbon steel) of the part. The drawing coefficient of each drawing station increases by 0.6-0.8. For example, for an aluminum part that needs three drawing, the drawing coefficient of the first station is 0.65, the second station is 0.72, and the third station is 0.8, and it is gradually formed to the target size.
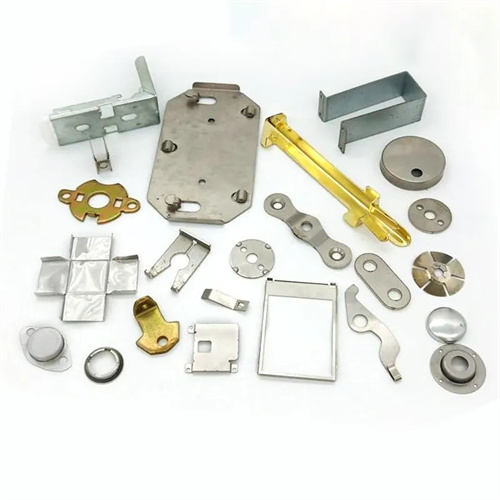
The die structure consists of a drawing convex-concave die set, an auxiliary process convex-concave die, a feeding mechanism, a positioning device, a guiding device and a discharge device. The drawing convex die is made of Cr12MoV steel, with a quenching hardness of HRC58-62 and a chrome-plated surface (thickness 0.01-0.03mm) to reduce friction; the concave die is made of cemented carbide (WC-Co), with a hardness of HRA89-91, which improves wear resistance and is especially suitable for drawing high-strength materials such as stainless steel. The fillet radius of the drawing concave die at each station is designed to be 5-8 times the material thickness, and is reduced by 1-2mm at each station to guide the material to deform evenly. The convex-concave dies of the auxiliary processes (such as punching and trimming) are set between the drawing stations to coordinate with the drawing process. For example, a punching station is set after the second drawing to avoid deformation of the parts caused by punching in the final process.
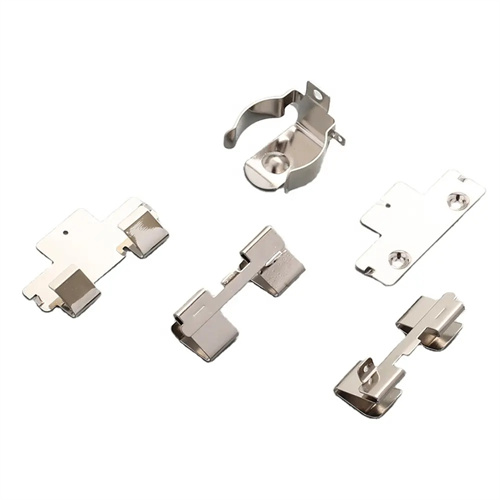
The feeding and positioning system must meet the requirements of high-precision continuous production. A servo-motor-driven precision feeder with a feeding step accuracy of ±0.01mm is used. Guide pins at each workstation provide a clearance of 0.005-0.01mm between the guide pins and the preceding positioning holes, ensuring accurate strip alignment at each workstation. For thin materials (thickness <0.3mm), a strip leveling device is installed. Multiple sets of leveling rollers maintain strip flatness within 0.05mm/m to prevent warping that could affect drawing quality. A strip detection sensor is installed at the mold inlet. If the strip deviates or breaks, the machine stops and an alarm sounds to prevent mold damage.
Lubrication and cooling systems are critical to ensuring continuous drawing quality. An automatic lubrication device is installed before the first workstation, spraying specialized drawing oil (viscosity 20-40 cSt) evenly on both sides of the strip to a coating thickness of 5-10 μm to reduce friction during the drawing process. For high-speed production (>200 strokes/min), cooling water channels with a diameter of 6-8 mm and a flow rate of 1-2 m/s are installed in the drawing station to control the mold temperature below 50°C to prevent overheating and loss of plasticity. The lubrication system oil level should be checked every eight hours of operation, and the cooling system water channels should be cleaned weekly to prevent scale clogging.
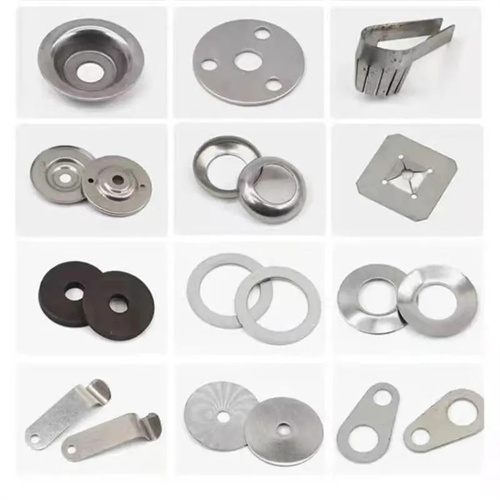
Debugging and maintenance need to be carried out in stages. When testing the mold, first perform single-station debugging to ensure that the forming dimensions of each drawing station meet the requirements, and then perform continuous test punching to measure the wall thickness difference (need to be <10%) and height deviation (±0.1mm) of the parts. Check the wear of the drawing punch every 2,000 times, and replace it when the diameter decreases by 0.02mm; the die edge is reground every 10,000 times to maintain the rounded corner accuracy. The feeding mechanism is calibrated once a month, and the guide device is filled with grease every two weeks to ensure smooth movement. For stations prone to wear (such as the last drawing), a quick-change structure is used, and the replacement time is controlled within 30 minutes to reduce downtime losses.
