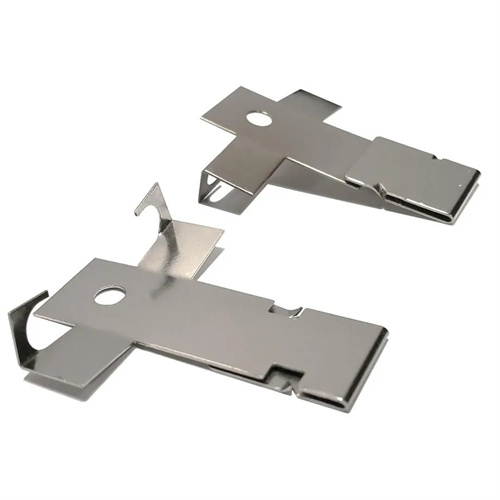
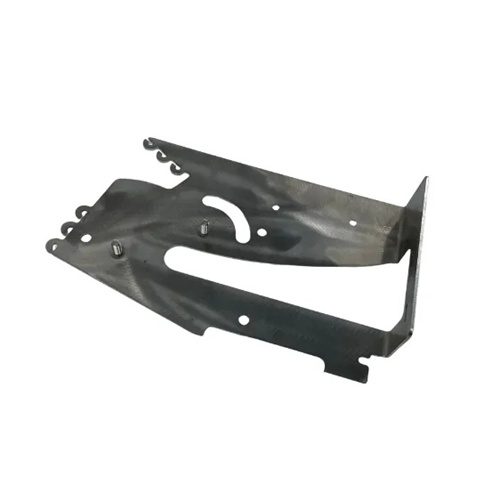
Bottom necking die design
Bottom-recessing die design is a specialized mold technology for forming a concave groove at the bottom of cylindrical parts. It is widely used in pressure vessels, automotive mufflers, hardware fittings, and other applications. By reducing the diameter of the bottom of cylindrical parts, functions such as sealing, connection, or aesthetics are achieved. The concave groove of these parts typically requires high dimensional accuracy, a smooth surface, and the absence of wrinkles and cracks. Therefore, mold design focuses on controlling the material’s plastic deformation process. Initially, the concave groove coefficient (K) is determined based on the part’s original diameter, the diameter after concave groove, the concave groove length, and material properties such as thickness, yield strength, and elongation. The concave groove coefficient (K) is the ratio of the concave groove diameter to the original diameter and is generally no less than 0.5. For materials with high plasticity, such as mild steel, K can be 0.6-0.8 to avoid cracking during the concave groove process. For example, if a mild steel cylindrical part with an original diameter of 100mm is to be concave grooved to a diameter of 70mm, a concave groove coefficient (K) of 0.7 is within a safe range.
The mold structure is mainly composed of a punch, a die, a positioning device, a discharge device and a guide device. The material selection of the punch and die must meet the requirements of high strength and wear resistance. Cr12MoV alloy tool steel is usually used. After quenching, the hardness reaches HRC58-62, and the working surface is polished to Ra0.4μm or less to reduce the friction resistance during the shrinking process. The shrinking forming part of the die needs to be designed as a conical transition. The cone angle α is a key parameter, generally 15°-30°. A small cone angle will increase the material flow resistance, and a large cone angle will easily cause scratches on the surface of the part. For materials with a thickness of 1-3mm, the length of the die working band is 3-5mm to ensure the stability of the shrinking size. The shape of the punch must be consistent with the inner shape of the part after shrinking, and the radius of the head fillet is 2-3 times the material thickness to avoid scratches on the inner wall of the part during shrinking.
The design of the positioning device is the key to ensuring the accuracy of the bottom necking, and it is necessary to ensure that the parts are accurately positioned axially and radially during the necking process. Axial positioning usually uses a positioning step or a stop pin. The height of the positioning step needs to match the necking length of the part, and the error is controlled within ±0.1mm to prevent the necking length from exceeding the tolerance. A guide sleeve or a centering sleeve is used for radial positioning. The inner diameter of the guide sleeve is 0.1-0.2mm larger than the original diameter of the part to ensure that the part can be smoothly placed without obvious shaking. For thin-walled cylindrical parts, in order to prevent deformation during positioning, an elastic support can be set inside the guide sleeve, and the part is gently clamped by the spring force, which not only ensures positioning accuracy but also avoids deformation of the part. The working surface of the positioning device needs to be quenched to a hardness of HRC40-45 to improve wear resistance and extend service life.
The calculation and control of the shrinking force are crucial to mold design and equipment selection. The shrinking force F can be calculated according to the formula F=πDtσb (1-K)/(2sin (α/2)), where D is the original diameter of the part, t is the material thickness, σb is the material tensile strength, K is the shrinking coefficient, and α is the die taper angle. For example, for a low-carbon steel (σb=400MPa) part with an original diameter of 100mm and a thickness of 2mm, the shrinking coefficient K=0.7, and the die taper angle α=20°, then the shrinking force F≈π×100×2×400×(1-0.7)/(2×sin10°)≈156000N, that is, 156kN. Based on this, a press with a tonnage of not less than 200kN needs to be selected to ensure sufficient power to complete the shrinking. In addition, the stroke speed of the press needs to be controlled during the shrinking process, generally 50-100mm/s, to avoid uneven deformation of parts due to excessive speed.
The debugging and maintenance of the mold need to be optimized in combination with the mold trial results. When testing the mold, first use the blank of the same material as the part for small batch trial production, and evaluate the forming effect by measuring the diameter, length and surface quality after shrinking. If cracks appear in the shrinking part, it is necessary to increase the shrinking coefficient or reduce the cone angle of the die; if wrinkles appear, it is necessary to check whether the positioning is accurate or add a clamping device. For parts that need to shrink multiple times, the deformation of each shrinking needs to be reasonably allocated, and the shrinking coefficient increases by 0.05-0.1 each time. Annealing treatment can be arranged in the middle to eliminate the work hardening of the material. In daily maintenance, it is necessary to regularly clean the oil and metal debris on the working surface of the mold, check the wear of the punch and die every 1000 times, and when scratches appear on the working surface or the wear exceeds 0.2mm, it needs to be repaired. The guide device needs to be regularly filled with grease to ensure smooth movement, and the matching clearance between the guide column and the guide sleeve is controlled at 0.01-0.03mm to avoid part size deviation due to insufficient guiding accuracy.