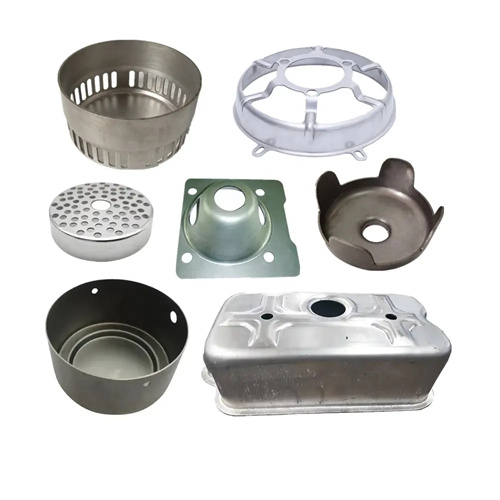
Design of multi-part bending die
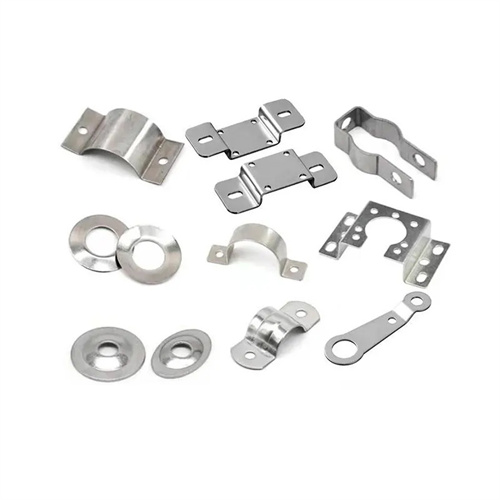
The multi-position bending die design is a die technology for forming complex parts with multiple bending angles and bending directions. It is widely used in the fields of automotive parts, electronic brackets, medical equipment, etc. It can complete the bending of multiple parts in one stamping stroke, improving production efficiency and part accuracy. The bending parts of such parts are usually interrelated, and the bending sequence and deformation coordination are crucial. The bending sequence needs to be determined through process analysis in the early stage of design. Generally, the principle of bending the outer corners first and then the inner corners, and bending the simple parts first and then the complex parts is followed to avoid interference during the bending process. For example, a part with two 90° outer angles and one 45° inner angle needs to complete the bending of the two outer angles first, and then the inner angle, to ensure that the bending parts do not affect each other.
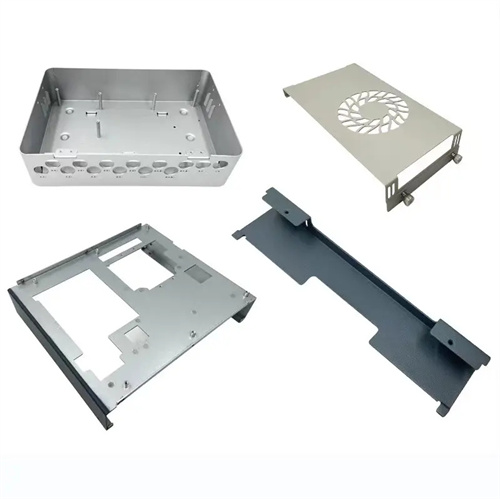
The mold structure consists of a punch, a die, a positioning device, a discharge device and a guide device. The punch and die need to be designed with corresponding forming parts according to the multiple bending parts of the parts, and the parts need to be coordinated to avoid mutual interference. The material is Cr12MoV alloy tool steel. After quenching, the hardness reaches HRC58-62, and the working surface is polished to below Ra0.8μm to reduce the friction resistance during the bending process. The fillet radius of the bending punch and die is determined according to the material thickness and bending angle, generally 1-2 times the material thickness. For materials with a thickness of 2mm, the fillet radius can be set to 2-4mm to avoid cracks in the bending parts. For multiple bending parts, the length difference of each punch needs to be reasonably designed to ensure that each bending part is formed in a predetermined order. The length difference is determined according to the bending stroke, generally between 5-10mm.
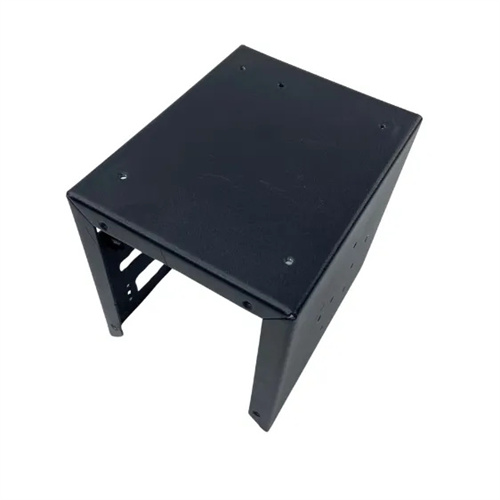
The positioning device must be designed to ensure accurate positioning of the part during the bending process, preventing dimensional deviations at various bends due to inaccurate positioning. The positioning method is selected based on the part shape. For flat parts, a combination of stop pins and guide plates is used for positioning. For parts with complex shapes, a combination of positioning blocks and locating pins is used. The locating pins are inserted into prefabricated holes in the part, and the locating blocks conform to the part’s shape. Positioning accuracy is controlled within ±0.1mm. The positioning device must possess sufficient strength and wear resistance. The material used is 45 steel, which reaches a hardness of HRC40-45 after quenching, and the working surface is ground to below Ra1.6μm. For mass production, the positioning device must be designed to be adjustable, with bolts used to adjust the positioning position to accommodate slight variations in part size.
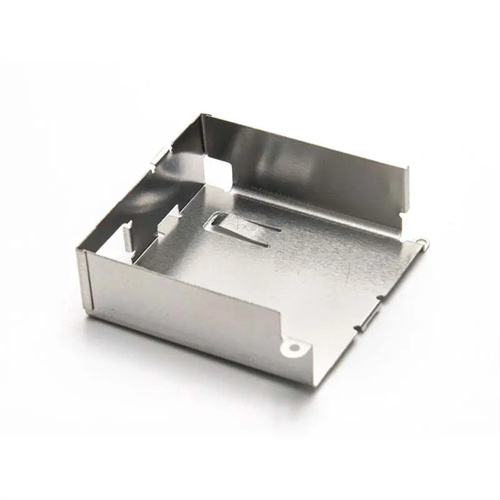
The calculation of bending force and the strength check of the die are important links in the design of multi-part bending dies. The total bending force is the sum of the bending forces of each part. The bending force F can be calculated according to the formula F=k×B×t²×σb/(r+t), where k is the safety factor (take 1.3-1.5), B is the width of the bending part, t is the material thickness, σb is the tensile strength of the material, and r is the bending radius. For example, a low-carbon steel part with two bending parts, each with a width of 50mm, a thickness of 2mm, and a bending radius of 3mm, σb=400MPa, then the bending force of each part is about F=1.3×50×2²×400/(3+2)=4160N, and the total bending force is about 8320N. Based on this, a press with a suitable tonnage is selected. The strength check of the die needs to focus on checking the stress conditions of each bending punch and die to ensure that they will not be deformed or damaged under the total bending force.
The debugging and optimization of the mold needs to be carried out in stages. When testing the mold, first run it without load to check whether the movement of each bending part is coordinated and whether there is any interference; then use scrap materials for trial bending, measure the angle and size of each bending part, and compare it with the design requirements. If there is a deviation, adjust the position and size of the corresponding punch or die. For the dimensional association between multiple bending parts, it is necessary to ensure that the dimensional deviation of each part is within the allowable range to avoid the scrapping of parts due to cumulative errors. In daily maintenance, the iron filings and oil stains on the surface of the mold need to be cleaned every 500 times, and the wear of each bending punch and die needs to be checked. When the wear of the fillet radius exceeds 0.2mm, it needs to be repaired. The guide device needs to be regularly filled with grease, and the matching clearance between the guide column and the guide sleeve is controlled at 0.01-0.03mm to ensure the smooth movement of the mold and the forming accuracy of each bending part.
